How to Easily Install a Fence Post Near or Next to Your House With a Post Hole Digger Tool
You finally gave in and brought home that puppy your kids have been talking about for months—but now that little ball of fur needs room to run…outside of the house. That backyard fence you’ve been meaning to install is suddenly a priority this summer. The great news is that it’s a fairly straightforward process even for a beginner weekend DIYer, with one exception: that tricky spot where the fence meets the house.
Whether you’re installing a backyard fence to contain a new puppy or adding an ornamental fence and gate to spruce up your front yard, you’ll need to use some caution and common sense when deciding how to install a fence post near or next to your house without causing any damage to your home or underground utility lines and pipes. And, you should know what’s out there to help DIYers like yourself, specifically a handy product called a post hole digger tool. So are you ready for the 411 on installing fence posts? Let’s dig in.
How to Install a Fence Post Near or Next to Your House
It’s important to take a look at the big picture before you delve into your fence building project so you don’t end up with a crooked fence or poorly-placed post holes, especially when you have the added consideration of how to install a fence post near or next to your house.
While the post positioning will vary depending on the fence panel width you choose—i.e. if you have 6-foot-wide panels, you’ll need to put a post every 6 feet—regardless of the panel length, you should always start with the post that’s closest to your house. Your home is an immovable structure and thus dictates where you can put that post. If the fence will be used to contain your new puppy, or your young children, you should err on the side of caution by minimizing the gap between the post and the house to avoid escapes.
The process for installing your fence posts is pretty simple, once you have accounted for the one that will be placed next to your house. Here are the easy installation steps:
- Plot out a path for your fence: The most common technique for planning the installation line of your fence posts involves placing wooden stakes at each corner of the yard (or each end for a straight section of fencing). Then, simply run a length of twine between the stakes, creating a perfectly straight path for your post holes to be dug.
- Mark the spot for your posts: Mark the spot for each fence post hole with a wooden stake or an eco-friendly marking paint. Start with the post that’s right up beside your house and measure out along the twine so the posts are straight and evenly spaced.
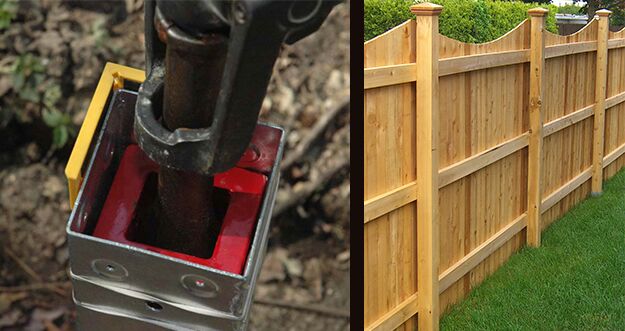
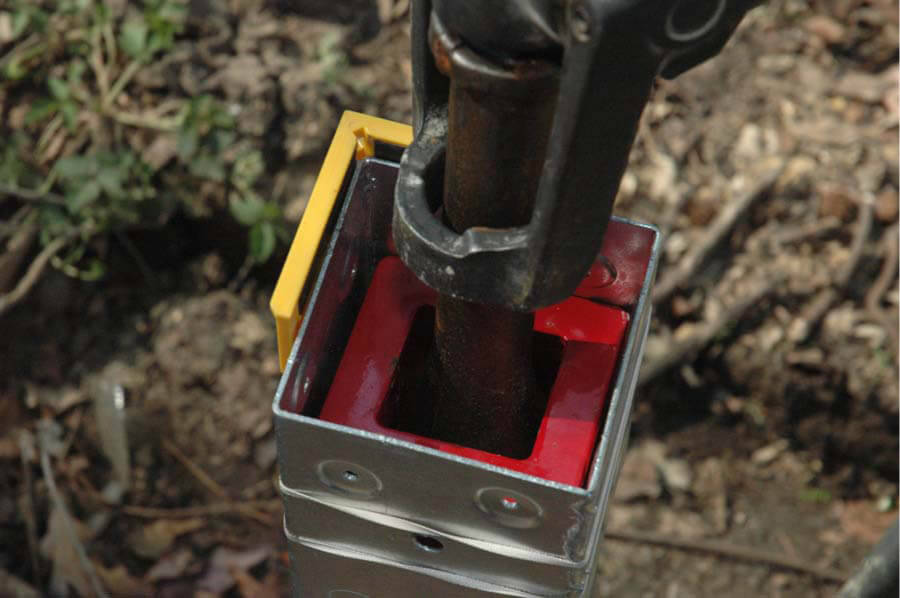
- Use a post hole digger tool: Use a post hole digger to ensure perfectly sized holes for your fence post. Using a hole digger tool is ideal because if you dig with a normal shovel you’ll end up with a hole that’s much larger than you need. You’ll be faced with trying to stabilize the post with fast-setting concrete or pack in soil around it (all while trying to hold the post perfectly vertical). There’s a good chance you’ll end up with a post that’s crooked or wobbly. The Oz-Post tool lets you dig a hole that’s the exact depth and diameter that you need.
- Tamp the post down into the hole: If you used a fence post hole digger it’ll be a tight fit, adding stability and strength to your new fence, but it may be hard to tell if you’ve driven the post to the bottom of the hole or not. If, for example, your fencing manufacturer recommends inserting the fence posts to a depth of 18 inches, before you insert the fence post measure 18 inches up from the bottom and use a pencil to mark the spot. This makes it easy to know if the post is properly positioned inside the hole.
Using a post hole digger tool is especially helpful while you’re working right up beside the house since you won’t have much room to maneuver. Instead of standing off to the side of the hole and shoveling out loads of dirt, you’ll extract only the soil that’ll be displaced by the fence post itself. What’s more, you can extract that soil vertically. This makes for easy maneuvering so you won’t be at risk of accidentally smashing a first-floor window with a shovel handle! And, by digging a hole that’s the exact right diameter, you won’t need to try to pack in soil or attempt to pour concrete around a wobbly fence post. You’ll be able to dig a uniformly-shaped hole, even in the tightest of spaces.
Damage and Safety Concerns When Using a Fence Post Hole Digger Tool
Before you jump into this fence post installation project and start digging with your new post hole digger tool, take some time to think about a few common obstacles and safety concerns, like buried utility lines, underground piping, and drainage problems. Planning ahead will help you avoid damage to your home or its foundation—or a messy sewer situation. In addition to keeping your kids and pets safe, you also want to keep your home safe.
- Beware of underground utility lines: In many regions, it’s common practice to bury wires and cables, especially for internet and phone services. In some cases, you may find that the line is encased within some sort of protective tubing, but this is not always the case. It can be fairly easy to damage or sever these underground wires with a typical post digger. You should take a walk around your home to see if any cables extend down into the ground. Then, find the shortest route to the nearest utility pole to determine the cable’s likely path. If you’re installing fencing in an area that probably has a buried cable, call the utility company to ask about their practices for installing underground utility lines. You’ll want to ask about key points including the usual depth of the line and the likely distance from your home’s foundation.
- Watch out for underground pipes: Damaging an underground pipe can cause a potentially dangerous situation, especially if you damage a natural gas line. To find out if there’s a pipe running through your dig site, you can check your basement and first floor walls for any incoming pipes. You’ll find this is a fairly effective method for determining if there are any underground pipes positioned perpendicular to your house. Of course, this approach doesn’t let you identify any pipes that run parallel to your home. To dig with absolute certainty, check out your home’s blueprints or reach out to the town or city hall for information. If you’re a New England resident, call the Dig Safe hotline at 811. Dig Safe has agreements with utility companies and serves as a non-profit clearinghouse to document the location of underground pipes and utilities. You’ll also need to be aware of well piping, sewage lines, and water lines. Well piping in particular may be rather irregular, depending upon where the well is located.
- Considerations to avoid drainage issues and foundation damage: You’ll want to consider how your new fence may affect drainage, especially if the fence is located near a corner of your house. If you alter the drainage in the immediate vicinity of your home’s foundation, you could find yourself in a dangerous situation where water fails to drain away from the home, resulting in leaks, basement flooding, and, over time, damage to the actual foundation. So, make sure that your fencing doesn’t interfere with any downspouts or drainage-related structures that are designed to divert water away from the home. It’s also wise to take it slowly if you’re digging in the immediate area of the foundation. You want to avoid digging at an angle because this can accidentally damage the concrete.
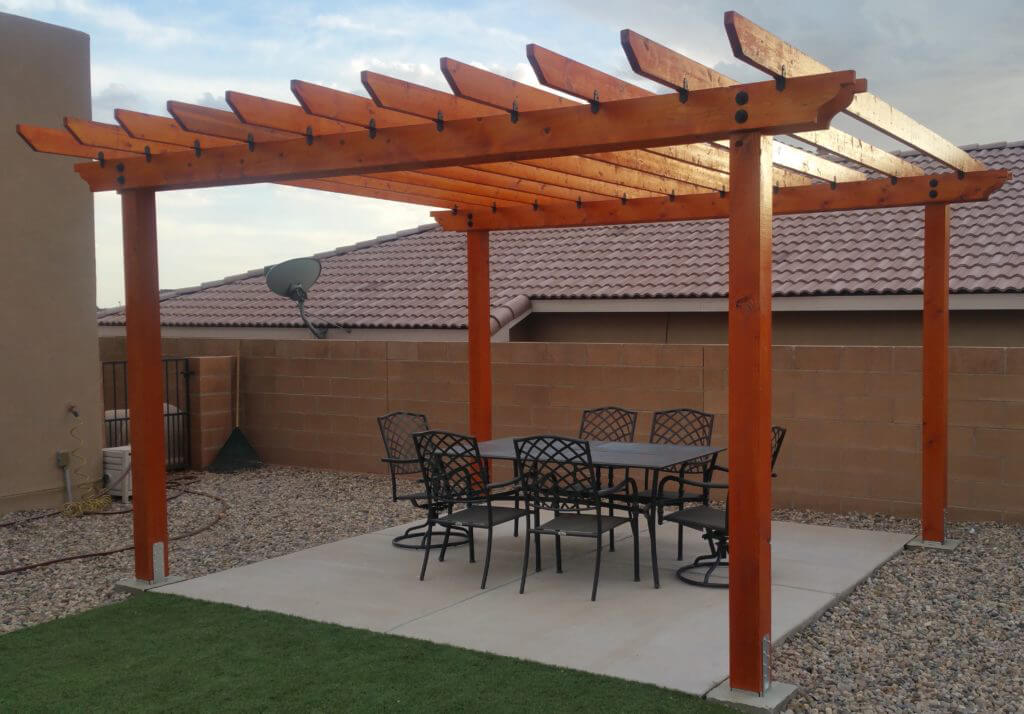
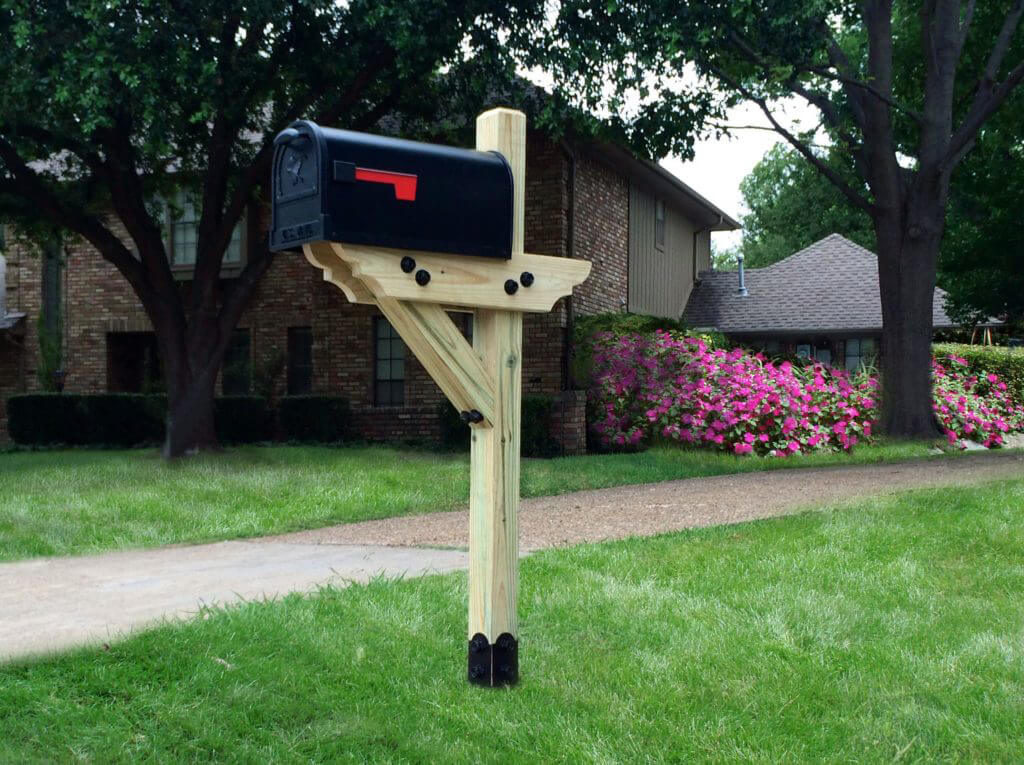
When installing a new fence, the right tools and equipment can mean the difference between a fast, simple project that lasts for years and one that’s a long, drawn-out nightmare that results in a do-over next summer. OZCO’s OZ-Post Instant Post Holes digger is a clever piece of equipment that can make the project much faster and easier. In fact, it’s good for more than just fences. You can also use this tool for mailbox, deck, and sign posts—any project where you need to dig a precise, uniformly-sized hole, even if it’s right beside your house.
I turn to OZCO Building Products for durable, user-friendly tools like Oz-Post and high-quality supplies for my DIY home improvement projects. They carry everything from ornamental wood ties and brackets for your fence to Lumber Shield Oil Wood Stains and wood sealer for refinishing your deck and pergola. And always feel free to use their contact form if you’ve got questions about one of these products that one of their experts can answer. They dig hearing from their customers!




Comments (2)
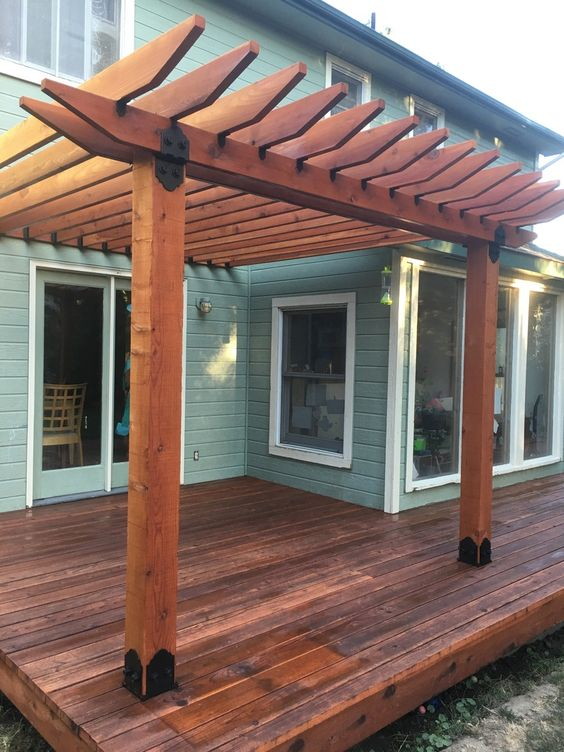
So the picture shows the post anchors into a wood deck surface. Do you need any other support for the posts or just the wood post anchors? We have an existing deck, just 12″ off the ground and want to add a pergola.
Thanks for your reply
The post base needs to be mounted securely to the joist framing of the deck. Typically blocking is installed between the joists under the areas where the posts will rest on the deck.