Privacy Railing for Decks Creates a Cozy Place to Relax
When I was nine years old, I was really eager to hang out at my friend Kevin’s house. The main reason was that he had a Super Nintendo. The second reason was that his 16-year-old neighbor was in the habit of sunbathing out on her parents’ backyard deck next door. This made Kevin the most popular boy in the neighborhood that summer, and we’d all think of excuses to go into the backyard. I’d gotten a football for my birthday that year, and this was the only time it got used regularly.
One day, I was disappointed to go over to Kevin’s house and find a new wooden privacy fence along that side of the backyard. In retrospect, I can’t blame the neighbors for wanting that extra bit of privacy. But the fence seemed like expensive overkill. Replacing sections of the railing along one edge with privacy railing panels would have sufficed. Privacy railing for decks is far cheaper than extra-tall privacy fencing. Of course, with a teenage daughter, a little protective overkill is understandable.
What Are Privacy Railings?
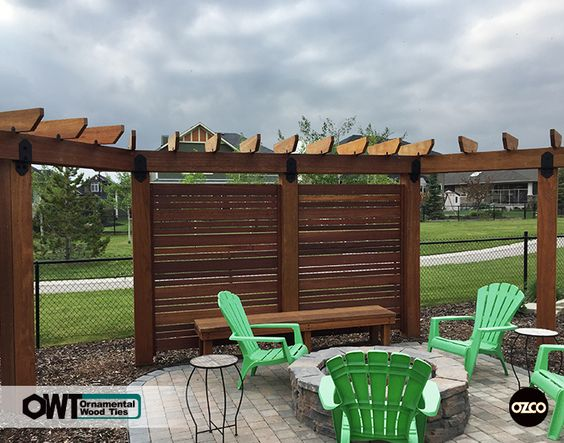
A privacy railing is just a replacement for a regular railing that helps block the view. Adding one can be as simple as stretching a specially-made cloth across the balusters. It can also take the form of a material like a trellis, wood boards, or even sheet metal attached to existing railings. Privacy railings for decks can even be taller, more like a privacy screen. The difference is that a privacy railing is permanently anchored to the deck’s substructure, whereas a privacy screen is generally resting on the deck. However, many custom DIY outdoor privacy screens are permanent.
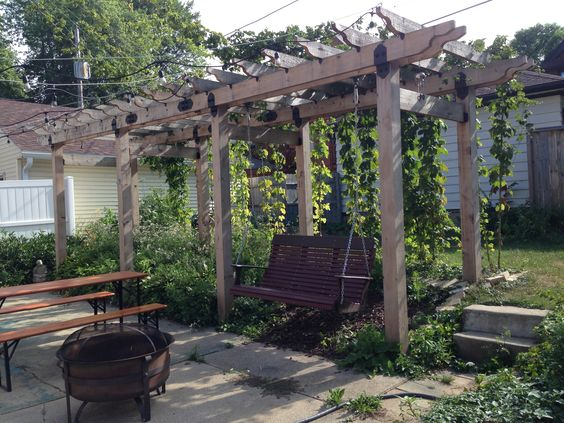
Privacy railing can replace a typical railing around the entirety of the deck, or it can replace a single section of railing. If you’re worried privacy from a single direction—say a bunch of eight- to eleven-year-olds keep looking into your yard—a small section of privacy screen can block prying eyes and let you enjoy the rest of the view from your deck. Alternatively, if you have a small backyard with neighboring houses near the property line, a corner or other odd lot, or just an unusual layout where outdoor privacy is hard to get then privacy railings that completely surround your deck might be the best choice. Privacy railing of this sort also works on ground-level decks and even concrete patios. If your deck is surrounded by second-story homes that can look down on your deck then it may help to add a pergola to the deck along with privacy railings to keep nosy neighbors from looking in.
Advantages and Disadvantages of Privacy Railings
The biggest advantage of privacy railings is their cost. The square footage of a deck is usually much smaller than the square footage of yard, meaning it costs less to enclose a deck with a privacy railing than it does to enclose a yard with a privacy fence. Another advantage follows closely on the heels of the price. Due to this smaller size, it’s easier and more cost-effective to create privacy railings that are customized to look nice with your deck and your home.
The main disadvantage is that permanent, outdoor privacy railings for decks aren’t typically available off the shelf. Temporary screens are available, but ones that actually anchor to the deck and form a permanent part of the structure are rare. A homeowner who wants a permanent privacy solution on their deck is most likely going to have to build it themselves. The good news is that this is not a difficult project, and is easily handled by an entry-level DIYer.
Building Privacy Railing for Decks
The first thing to consider before building privacy railings for your deck is what sort of privacy you need. If your deck is a second level deck that stands above the surrounding homes, then all you’ll really need to provide for your privacy is a railing of typical height with a view-obstructing infill. A popular method is to simply nail evenly-spaced two-by-sixes horizontally across two railing posts. This is incredibly simple to do. The only caveat is that two-by-sixes are rather expensive, and you can use quite of few of them making this sort of privacy screen. Here are the basic steps for making this type of privacy screen:
- Disassemble any existing railings while keeping the posts in place. The posts should stand no more than six feet apart. If they are further apart, install an additional post that evenly splits the space between the two existing posts.
- Select a solid infill. This can be anything from a piece of plywood to corrugated galvanized sheet metal to a piece of wooden trellis.
- Cut the infill to match the post height and the space between the posts.
- Cut four lengths of two-by-four to match the length of the infill.
- Sandwich the top and bottom of the infill with the wooden two-by-fours.
- An easy way to do this is to first place the two-by-fours on either side of the infill, then clamp the two-by-fours firmly into place.
- Drill holes through the two-by-fours and the infill, then use screws long enough to go through the surface two-by-four into the one beneath.
- Flip the section over and repeat on the other side
- Alternatively, you can drill completely through and use a bolt to hold the whole thing together.
- Take this railing section and mount it to the posts either by driving a screw in at an angle or by using a bracket.
- Add a horizontal two-by-six handrail on top of the railing sections and the post to complete the privacy railing and hide the sandwiched infill from sight.
If you want to protect your privacy with something taller, the steps are largely the same. The main difference is that you’ll need to replace the posts with something taller. In this case, remove the existing railing posts, and replace them with four-by-four posts cut to the desired length. Measure out the positions where they will be going on the deck and then use post bases to anchor these posts to the deck.
Dressing Up Privacy Railings for Decks
Whether your privacy railings are made of horizontal boards or use less expensive infill, creating privacy railings for decks is easy. The main drawback is that these kinds of privacy railings can look home-built. Left as they are, they’re little more than pressure-treated lumber and off-the-shelf sheeting. Fortunately, it’s equally easy to dress them up and make them look professionally built.
Painting is one way to do this. It’s fairly easy, and going over wood and fasteners alike with a coat of paint will smooth out a privacy railing’s rough edges. This isn’t to everyone’s tastes, though. To retain the natural textures and grain of the wood, an alternative is to use exterior wood stains. Of course, this does nothing to hide galvanized fasteners, but by using fasteners that have an ornamental look to them, you can preserve the organic look of the wood, enhance its appearance, and make your privacy railing look finished and professional.
OZCO Building Products makes fasteners for just this kind of project. Their tough, powder-coated ornamental wood ties and hardware lend privacy railings a stylish and rugged appearance. Hardware like their joist hangers, rafter clips, and timber screws are all perfect additions to a privacy screen project. To find out more about how OZCO hardware can help you complete a great-looking privacy railing or other structure, contact OZCO or find a dealer near you.


Leave a Reply