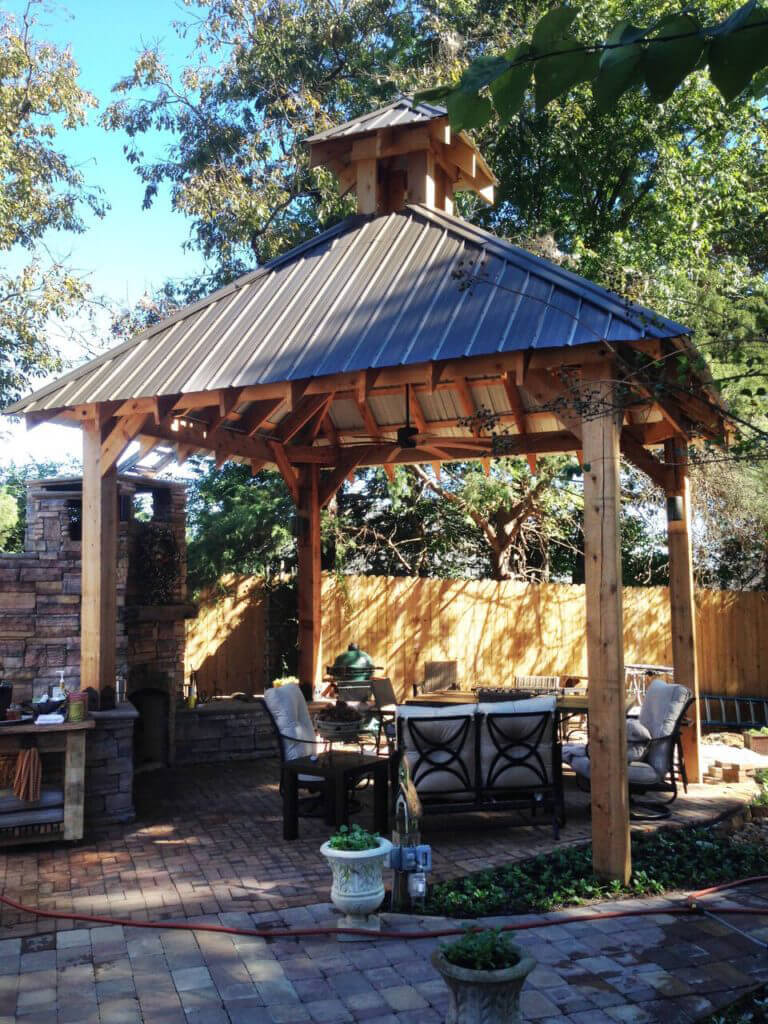
How to Build a Square Gazebo Roof: The Basic Roof Components You’ll Need
I had a friend whose backyard garden was his pride and joy. He had quite the green thumb and a little bit of everything growing back there. But he had a problem. He had a lot of plants that couldn’t handle constant sunlight and needed shade. He decided that he wanted to build a small garden gazebo to hold them. That’s where he ran into problems, because try as he might, he couldn’t quite nail building a square gazebo roof.
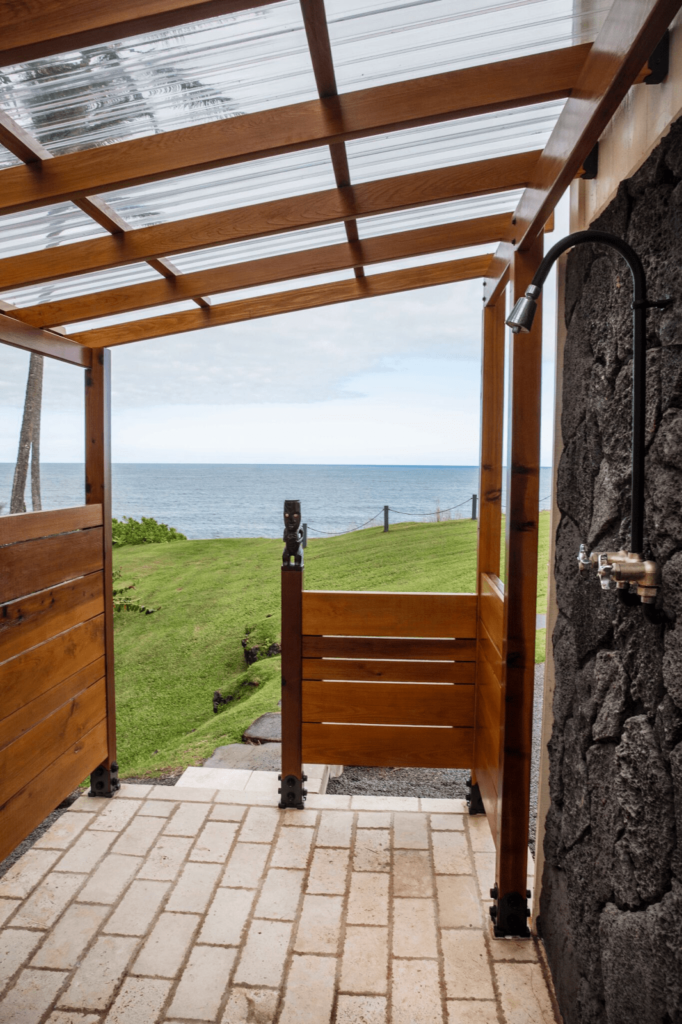
If he hadn’t already made up his mind to do a gazebo, I probably would have told him to go with a pergola instead. A square gazebo roof is by no means a beginner’s project. There are lots of cuts and a fair bit of work involved. However, if done right, a gazebo can be the perfect way to set off a backyard garden. It creates an interesting focal point and a good way to shelter more delicate plants. If you’re looking for tips on how to build a square gazebo roof, we’ve got them for you.
Choosing Flat or Pitched for Your Square Gazebo Roof
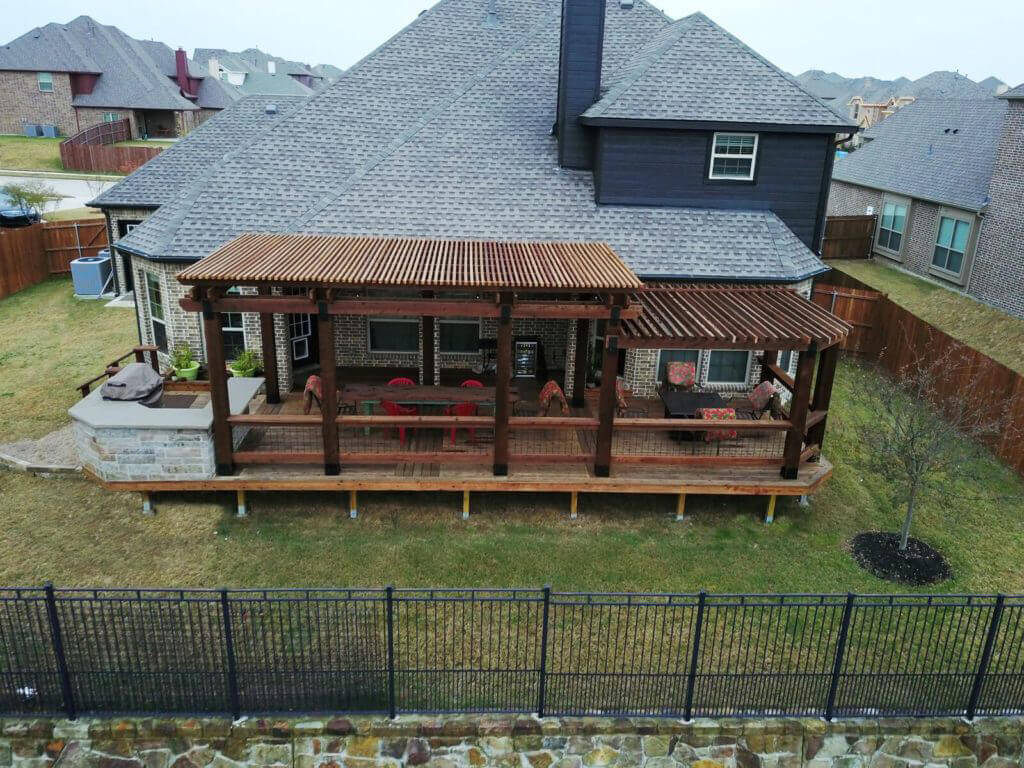
Probably the easiest way to build a square gazebo roof is to go flat. That’s the first thing I recommended to my friend, because he was a beginner builder. A flat roof requires less construction and cutting, along with less measuring. However, most of the people I talk to, including my friend, just think the pitched roof looks better, and my friend made the point that a flat, square gazebo is essentially a pergola, just with a full roof rather than rafters. (If you’re trying to decide between building a pergola vs a gazebo, take a look at our post on just this subject.) I can’t argue with that, and a pitched roof also has some benefits to consider, including:
- Better water drainage: A flat roof can collect water while a pitched one will allow you to direct how that water drains. If you do choose a flat roof, be sure to pitch it just slightly so the water won’t sit on top and encourage mold, moss, and rot.
- Room to hide electrical connections: If you want to do overhead lighting or add other amenities like fans to your gazebo, then you’ll need a place to hide and insulate your wires. The empty space between your ceiling and a pitched roof is ideal for this. With a flat roof, you’re left without a place to easily hide those connections.
- A more spacious look: With a pitched roof, you can make your ceiling a bit higher or even gabled. That gives a more spacious (and, I think, sophisticated) look on the inside. You can even include some ornamental cutouts to pretty it up and create the illusion of a second story.
Now, it’s certainly not the case that a flat gazebo roof is never a good choice. However, if you’re trying to dress up a backyard garden, a simple flat gazebo can sometimes look out of place. If you’re willing to do the work, creating a pitched roof is a completely doable project that just requires a little know-how.
How to Build a Square Gazebo Roof: The Basic Components
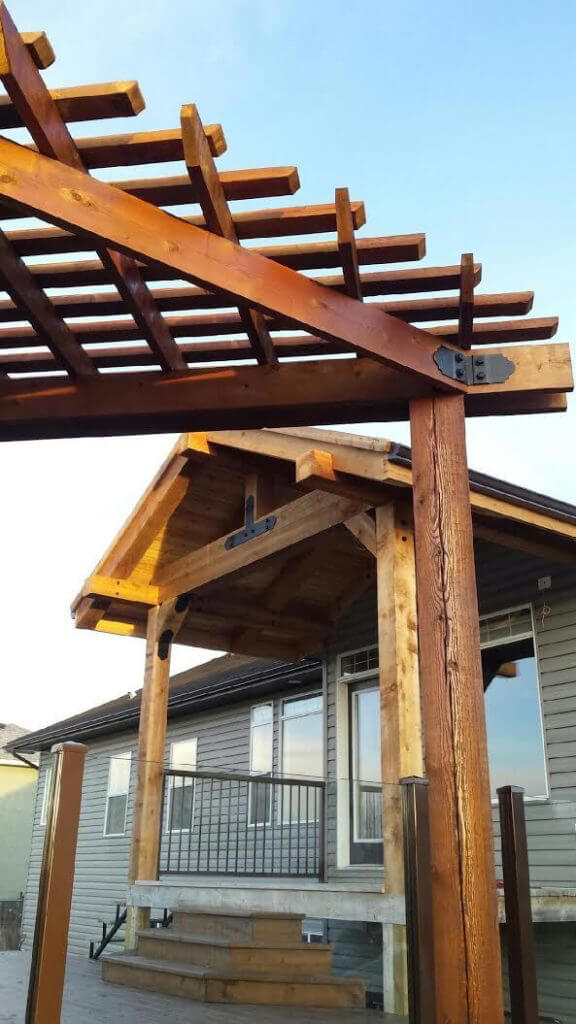
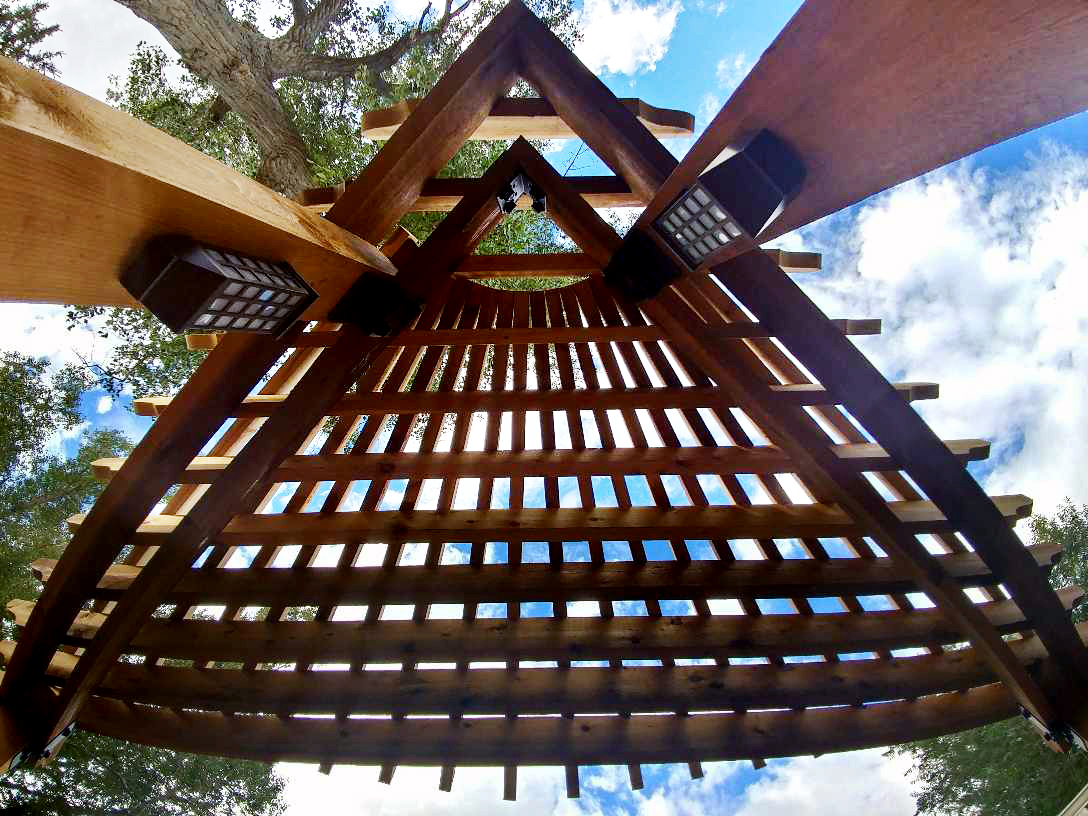
A pitched square gazebo roof is one built in layers. You start with simple rafters and then build on top of them. The posts (or walls) and base of the gazebo are the easy part. It’s the roof that requires a bit more time and technique. The easiest way to create a pitched roof is through pyramid roof framing, which involves building a pyramid of rafters, the ends of which will meet at the center beam. This is something that requires careful planning and measuring and will involve the following components:
- The king post: The king post is the middle post for your gazebo, which will extend from the floor to the highest point of your roof. You need to use a powerful post anchor or post base If you’re building the structure on top of an existing deck) for this, as it will act as the main support for your roof structure. Ideally, look for an anchor that’s been wind load tested for up to 120 MPH and is designed from hot dipped galvanized steel (a powder coat is a plus). While you don’t have to have a king post, especially on a smaller gazebo, it will be necessary if you’re choosing something larger. My friend was able to get by without one as he erred on the smaller side, but a king post has the benefit of giving you confidence that your roof is well supported.
- Hip rafters: Hip rafters are the beams which will form the peak of your roof. These will be attached to the king post, if you have one, via wood ties designed for wood-to-wood connection and/or toenailed screws. If you choose not to use a king post, the beams will be connected together at the center to each other. They go together a bit like a teepee, creating a skeleton for your roof’s structure.
- Ceiling joists: Your joists are the diagonal beams that connect at various points between the hip rafters. These will be needed to hold that overall frame in place and provide additional structural support, and can be held in place with wood ties.
- Roofing sheets/shingles: These provide the covering for your roof so you don’t end up with what is basically a pitched pergola. Shingling a gazebo roof is similar to shingling a regular roof. If you choose to shingle your gazebo roof, you’ll use a layer of roofing panels, followed by a layer of tar paper and finally, shingles. This is probably the easiest part of building your square gazebo roof.
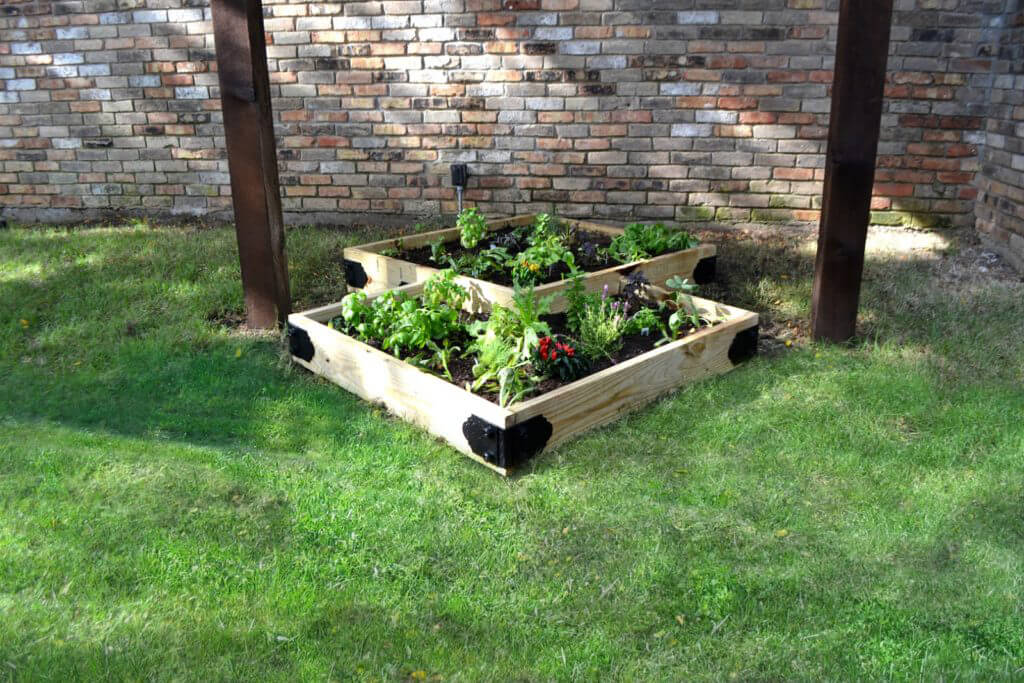
Of course, these are just the basics that go into creating a square roof for a small gazebo. The larger your gazebo, the more complex your plan needs to be to make the roof’s internal structure support sound. For my friend’s purposes, he was only looking to create a small gazebo to provide shade to some of his plants, so a plan that covered the basics served his purposes just fine.
When it comes to building a square gazebo, keep in mind this is not a simple project. It requires well thought out plans and powerful hardware to keep it all together. When I was helping with my friend’s garden gazebo, I recommended using OZCO wood ties and post anchors as they’re both durable and attractive, so you don’t need to hide or paint over them. A project like this is really all about the hardware, which is why OZCO’s powder coated options work perfectly. They’re super tough against moisture and UV, but they don’t have that industrial, shiny, unfinished silver look, either. OZCO even offers a unique timber bolt with an internal screw mechanism so you don’t have to worry about bolt ends sticking out. And if you haven’t chosen a plan for your project yet, they’ve got a bunch of project plans, as well as the option to create custom plans.

Comments (2)
My husband and I have a deck patio, and we were thinking about adding a timber pergola to it as well. I like how you mentioned that we should consider where we will place it. It is true that the pergola shouldn’t disrupt the natural flow of foot traffic. We will have to make sure that we do a decent sized one so it won’t ruin the traffic we have.
Deb,
Thank you for the feedback and please let us know if we can be any help with choosing a project plan to fit your needs!
Team OZCO