How to Build a Straight Fence Using Post Anchors
In my opinion, the biggest challenge in building a fence is keeping it in a straight line. This is often the most time-consuming part of any project. A deck, for instance, requires a lot of measuring to get it precisely square. Fences are less forgiving of mistakes, however, and even slight errors will result in an awkwardly crooked fence.
The challenge is in anchoring the posts. To anchor a typical fence post you have to dig a hole, place the post in the hole, and then fill the hole back in while making sure that the post’s height is correct, that the post is in line with the others, that it is the correct space from the last post in the sequence, and that it is plumb—or perfectly vertical. Errors may require you to pull the post out, dig the hole again, and start over. It’s a lot of labor, and many DIYers learn to live with a crooked fence. If you use post anchors, though, learning how to build a straight fence is a lot easier, and this allows you to install your fence posts without cement.
How to Build a Straight Fence: Choosing a Method
The correct way to build a straight fence is to use a level transit. This is a tripod-mounted device that looks like a telescope. You may have seen a survey crew using one. A level transit has sights that make it easy to tell if two vertical objects are on a straight line. Once it is appropriately situated, the sights are lined up on the boundary line, and a helper marks off the post placement. As the posts are anchored in place, someone watches through the sights to make sure they stay on the line. Usually, this means just standing there saying helpful things like, “To the right. No! My right!” as someone wrestles the post into place. Since level transits cost around $300 dollars on the low end, and their use can end relationships both professional and romantic, they’re not commonly used in DIY and residential projects. Instead, workarounds like the following are used.
- Chalk lines are strings on a spool in a container filled with white or colored chalk. They usually have a maximum length of approximately twenty-five feet. To use them, have a helper hold one end of the string, pull the line taught along the surface you wish to mark, pull the line up, and release it sharply. In order to lay a clean line, it has to be very taut and pulled cleanly, otherwise you end up with a fuzzy line or multiple lines as the string vibrates.
- Strings involve using stretchy nylon strings drawn tight between two stakes at either end of the stretch you are planning to build along. Drive nails into these stakes about three feet above the ground level, tie a loop in one end of the string and place it over the nail, wrap the string a few times around the stake, and draw the string tight before wrapping it around the second stake and tying the string off on the nail. This method has an advantage over a chalk line system in that you can mark your post spacing on the string with a marker. It also makes it obvious if your post is leaning over the line because it will make the line stretch.
- Wood is the easiest option to use. Simply get a couple of disposable 1×2 wood strips. Place your stakes along the line and nail the 1x2s to them. Mark your spacings with a pencil. Then dig your post holes and place the posts making sure the posts are lined up with your markings. Wood has an advantage over string because it will help support the posts and keep them in place as you use a level to ensure they are plumb.
There are a few thing to remember with each of these methods. A chalk line is at ground level, and since you’ll be looking at a level while the post goes in place, it’s easy to get a post that is vertical but slightly out of line with the rest of the posts when you’re using a chalk line. With a string, however, a glance can tell you if the post isn’t in alignment, since there will be a gap between it and the face of the post or you’ll be pushing on the string. If you use a wooden slat, you can keep the face of the post flush against it to make sure it’s on the line. As you may have gathered from all these methods, keeping the posts vertical and on the line is no easy task. Fortunately, post anchors make all of this a lot easier.
How Post Anchors Make Building a Straight Fence Easier
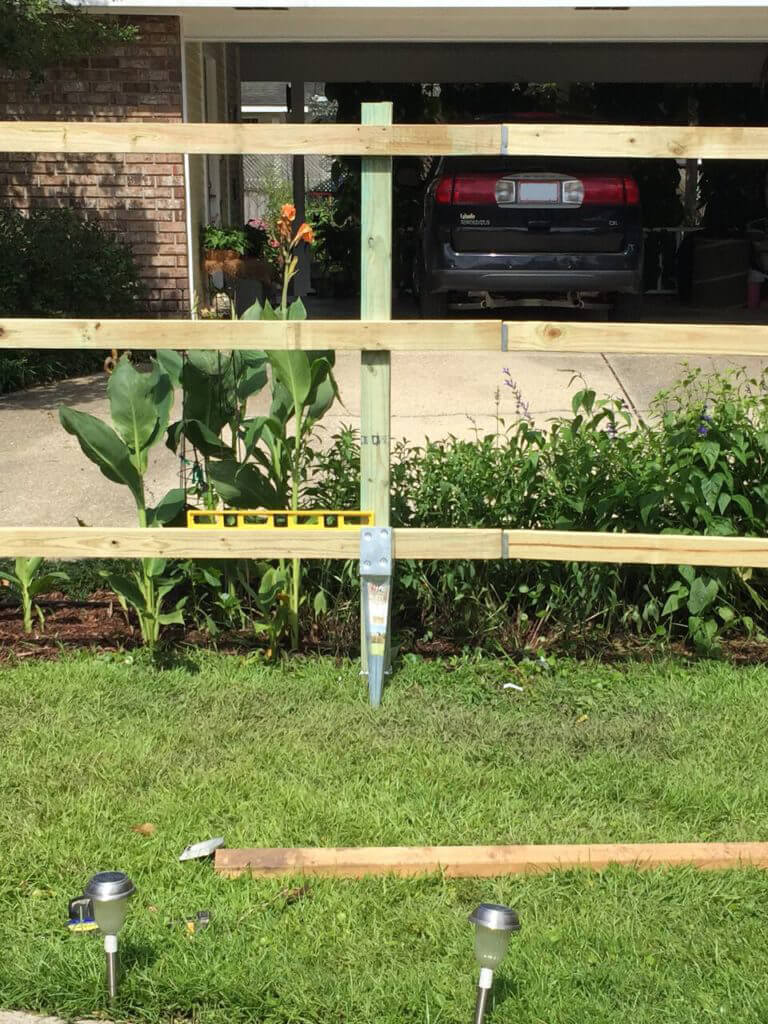
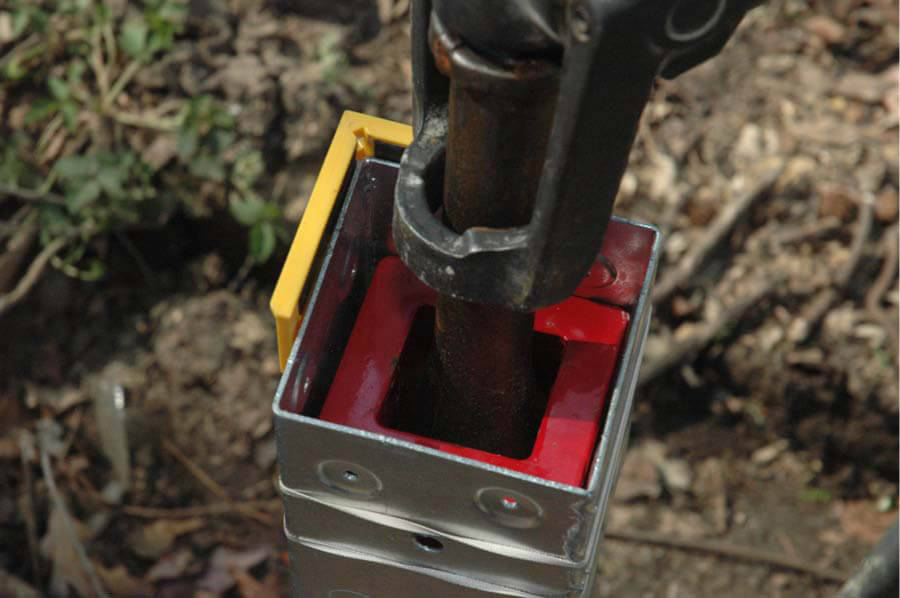
In simple terms, a post anchor is a bracket that holds a post. The sort of post anchors we’re talking about have a long, four-flanged metal spike on the other end. The pointy end is the anchor, and this is driven into the ground. Then the post simply mounts into the bracket on top.
To use them, you find the boundary line, mark it, and mark your post’s locations. Popping a chalk line and then using marking paint to indicate the post spacing is probably easiest. You then tie a two-way level—the right angle type that fits corners—to the post anchor, place it on the mark, use the level to straighten it, remove the level, and start driving it into place with a sledgehammer. Intermittently, as you drive the anchor, put the level back on to make sure it remains vertical. Pounding on the anchor with the level attached can damage the level.
Once the anchor is in, place your post. Use the level to make sure it is plumb, and then permanently attach the post to the anchor with screws. If you’re building a long fence, manufacturers of post anchors should offer a jackhammer bit designed to fit their post anchors, which does away with most of the labor involved in driving the anchor into the ground.
The most obvious advantage of post anchors is not having to dig and re-dig holes. Another advantage is that the post anchor isn’t going to rot like wooden posts buried in the ground or in concrete eventually do. Steel in the ground can rust, of course, but a well-galvanized post will last a long time–25 to 50 years even under the very worst soil conditions. They also keep posts in place nearly as well as concrete footers do, and they do this without the hassle of pouring concrete or having to remove large chunks of concrete in order to repair the fence.
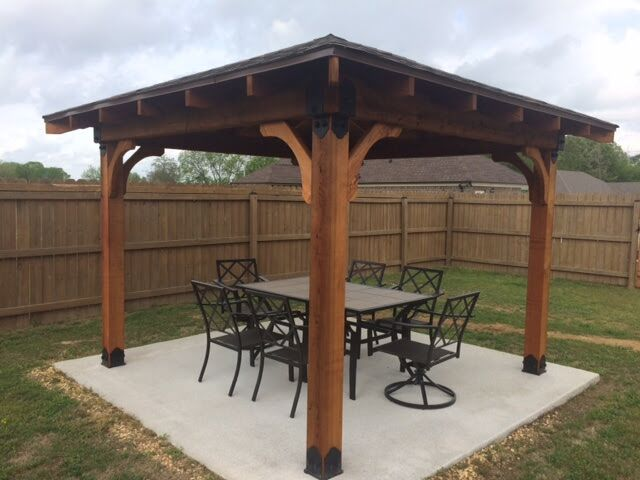
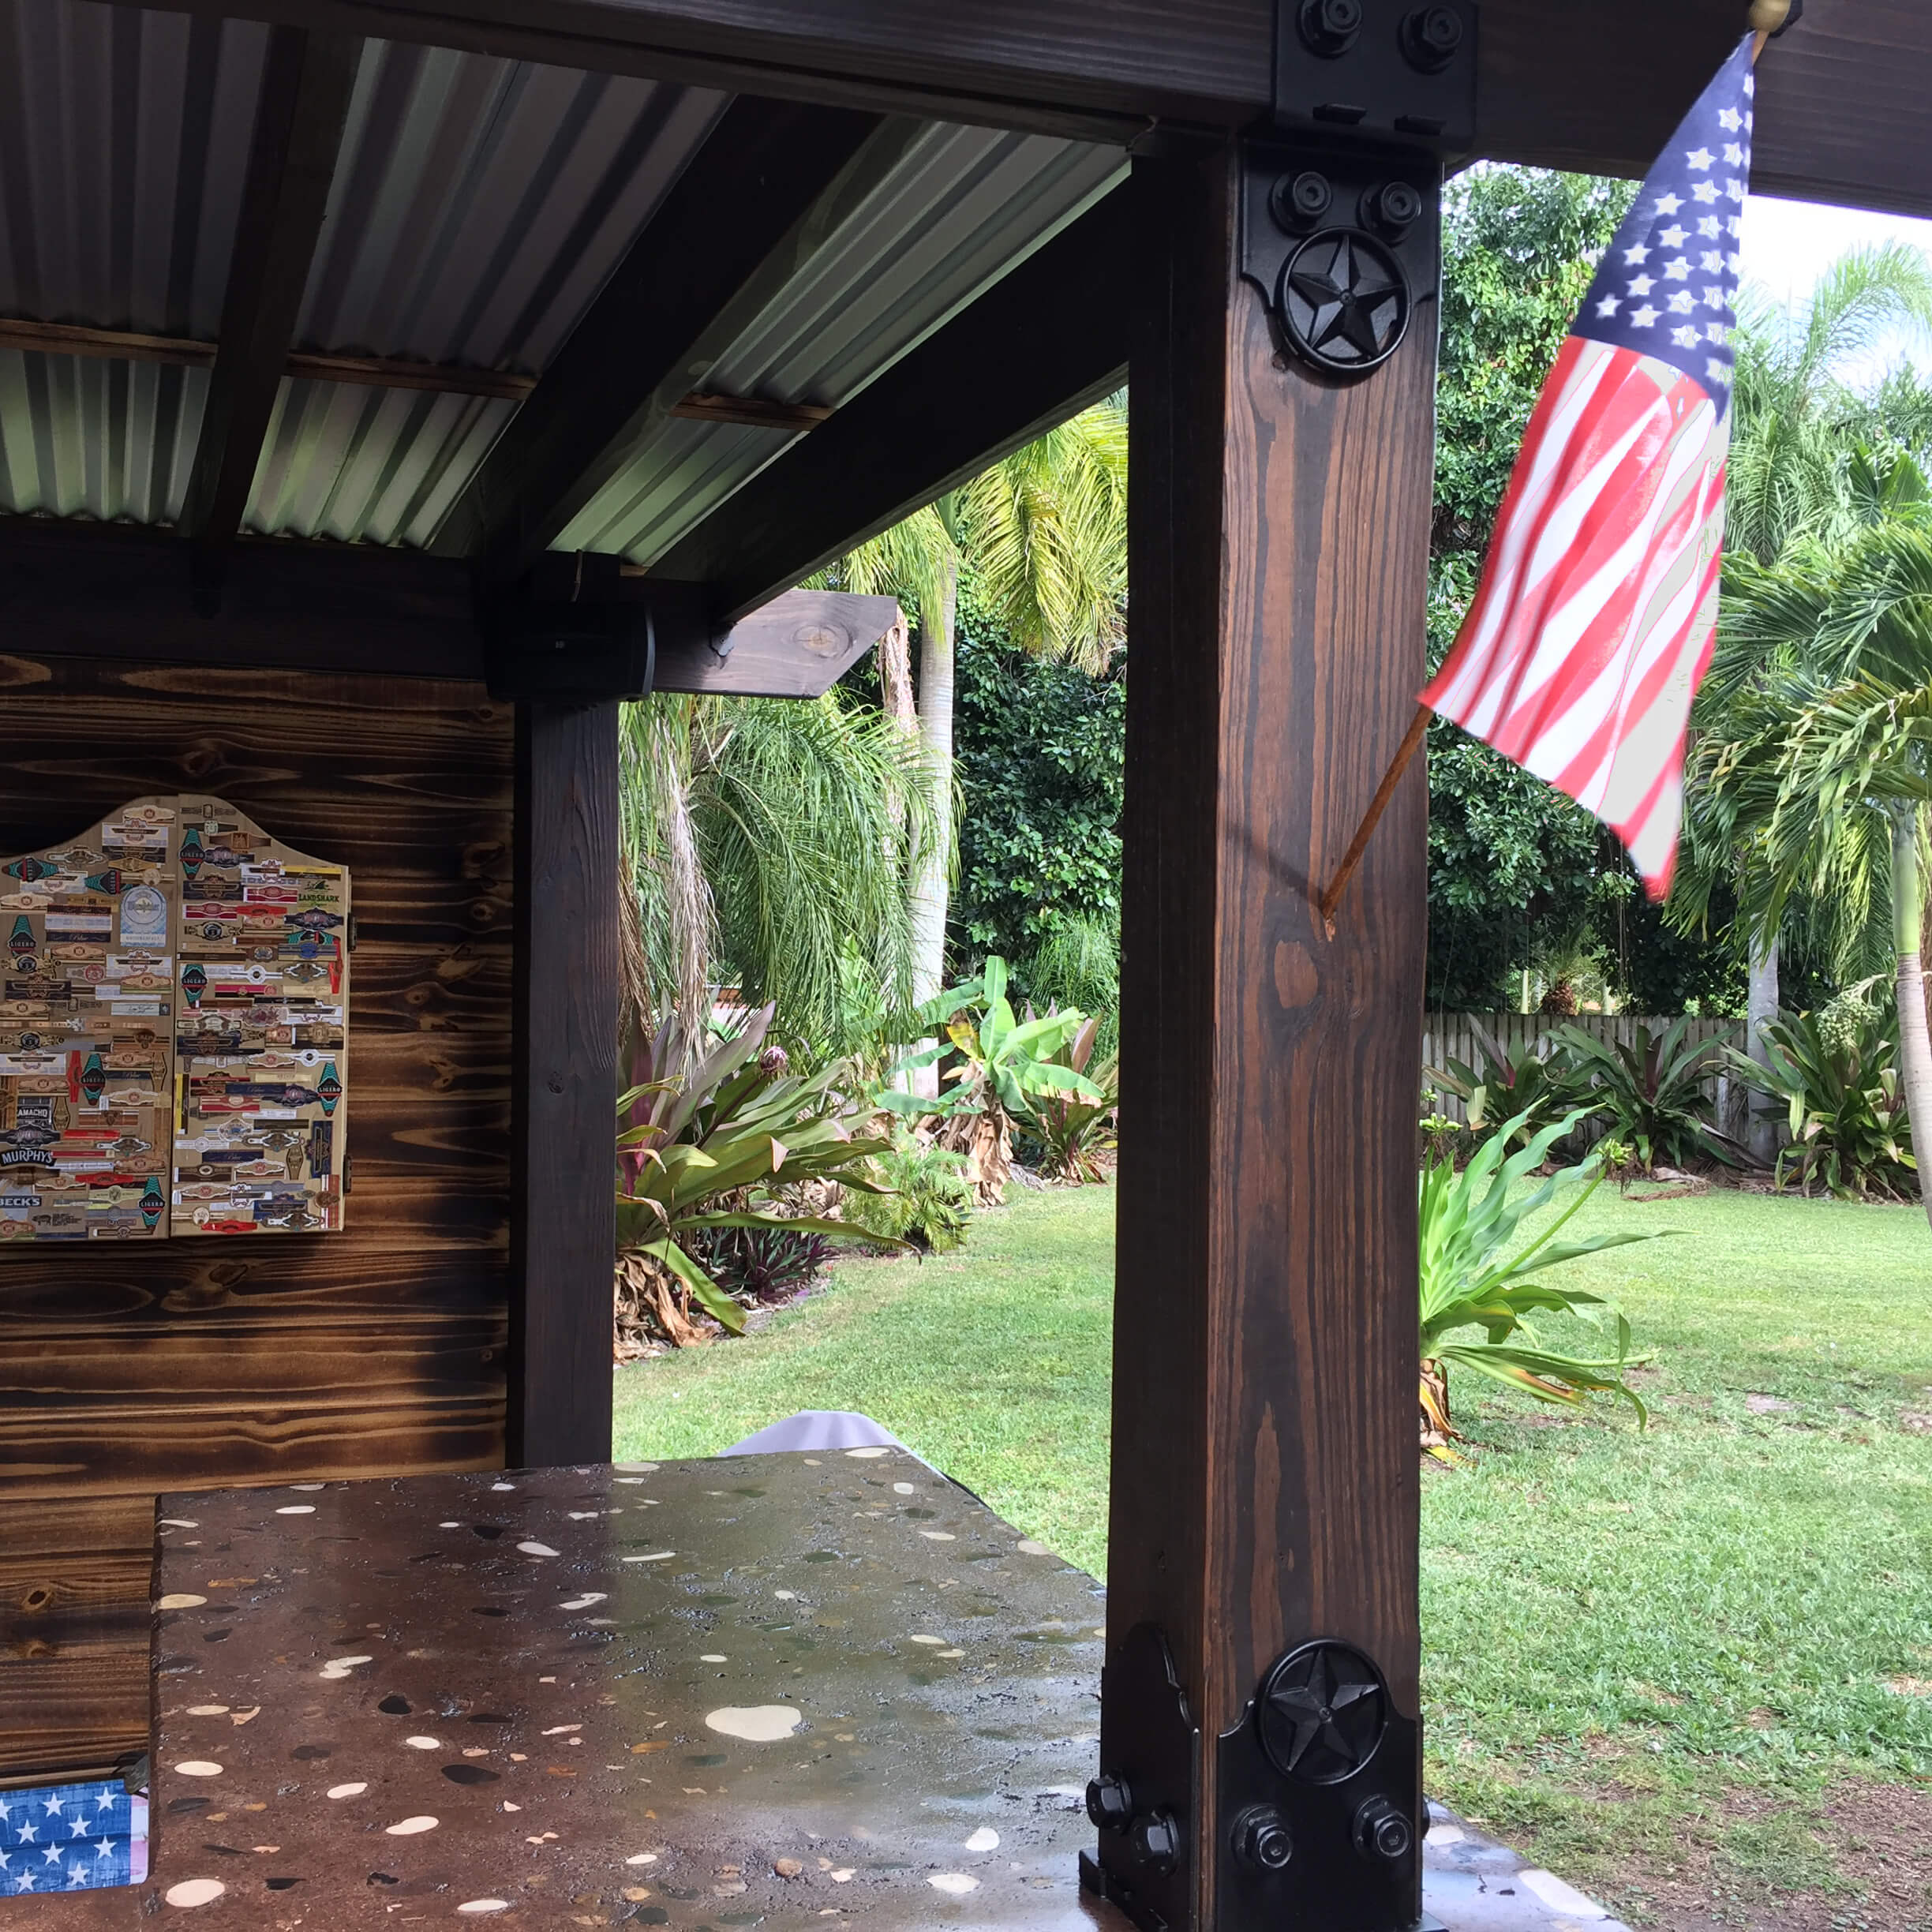
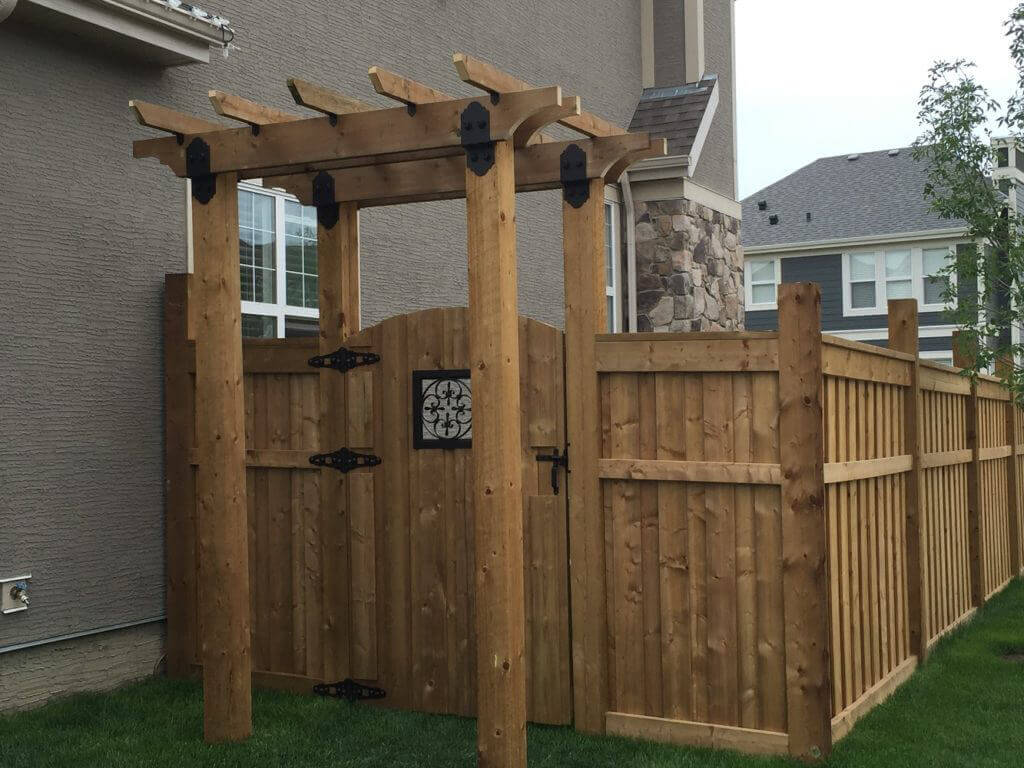
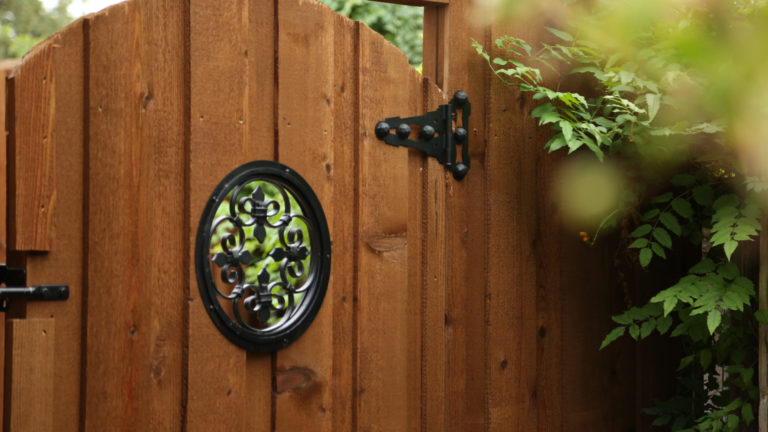
Hot-dipped galvanized post anchors like the one from OZCO Building Products make building a straight fence far easier to do than with traditional anchoring methods. These anchors work with all kinds of projects including mailbox posts, and for those who want their entire fence supported by steel, there’s also a post anchor for use with round galvanized steel posts. OZCO also carries a black powder-coated ornamental post anchor (but don’t be fooled by the word ornamental–it’s just as durable as the other versions) that can be combined with OZCO’s long-lasting hot-dipped galvanized and powder-coated fence and gate hardware to create a rugged, tied-together look.


Comment (1)
Thanks a lot for the great tips!
Here’s another one. If your fence is susceptible or already suffering from rot, adding plants and flowers to your landscaping scheme is not a good idea. You’ll want to get those out of the way of the fence. The moisture that these plants need to survive is the same moisture, which can be deadly for your fence.