How to Build an Outdoor Shower Enclosure That’s Good Looking and Functional
If you have a child, dog, and hard floors of any sort, then you probably sweep or mop every day, multiple times a day (or, you wish you could). My friend was in exactly this situation and the solution he hit on was surprisingly affordable: an outdoor shower enclosure. His version was just three walls and a door with a showerhead on a hose hooked up to an outdoor faucet. It’s perfect for hosing down canine and child alike, and since he has a pool, it’s a good way to wash the chlorine off after a dip without having to go to one of the bathrooms indoors.
My friend’s wife, on the other hand, loves the functionality of the structure but hates how it looks. My friend is an incredibly practical man, but, sadly, has the artistic sensibilities of a cinder block. If something gets the job done, its looks just sort of fade into the background for him–at least until his wife brings it to his attention often enough. He already knows how to build an outdoor shower enclosure, but what he needs to know now is how to build one that looks good.
The Basics of a Shower Enclosure
It doesn’t take much to build an outdoor shower enclosure. The structure is literally just three walls with a door on the fourth side. Here are the basic components of an outdoor shower:
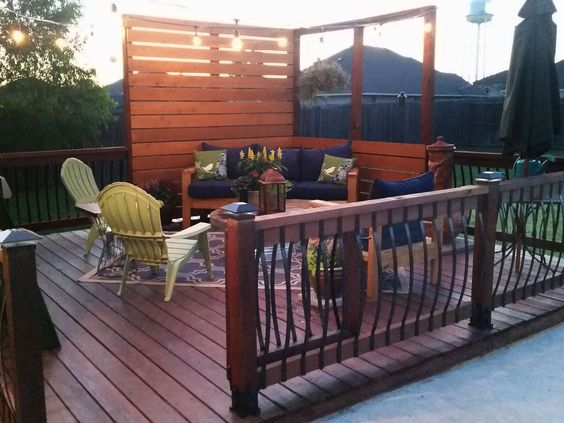
- Screens or walls provide privacy and can be plywood, opaque plastic sheeting, or, at the high end, carefully joined panels of wooden planks.
- A door or a gate opens up to provide access to the interior space, and at its most basic can be as simple as a shower curtain.
- Posts hold both the screens and the door up. The most common posts are 4×4 pressure treated lumber, but there are other options as well, like metal posts.
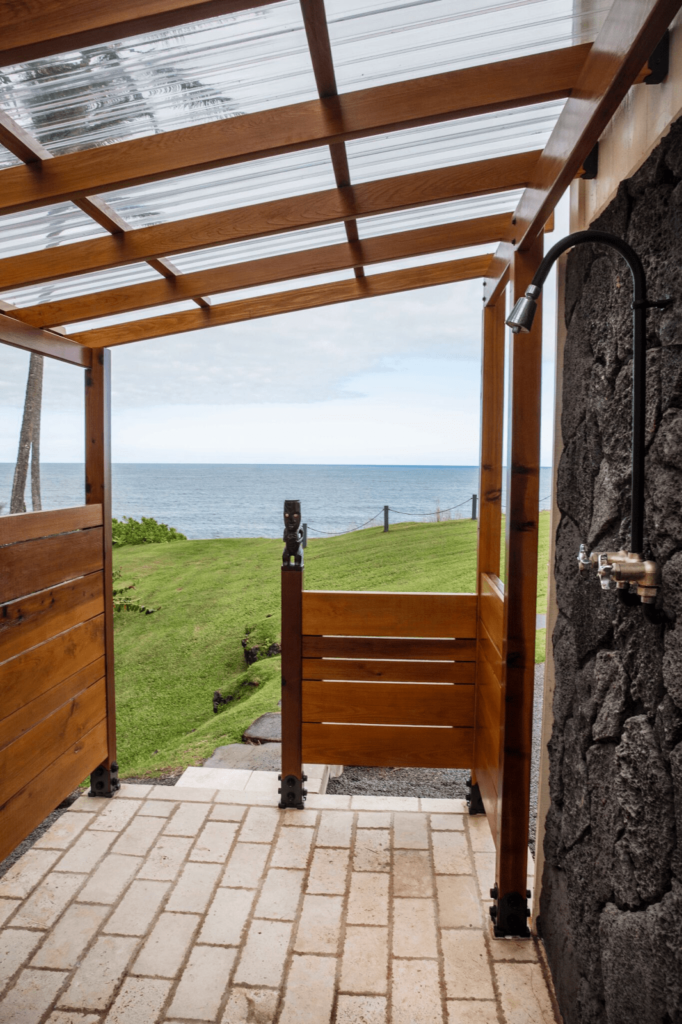
- A showerhead makes the enclosure functional. For maximum utility, it’s recommended to use a showerhead that is attached to a hose that can be aimed at areas that need to be reached, whether on yourself, your pets, or your children.
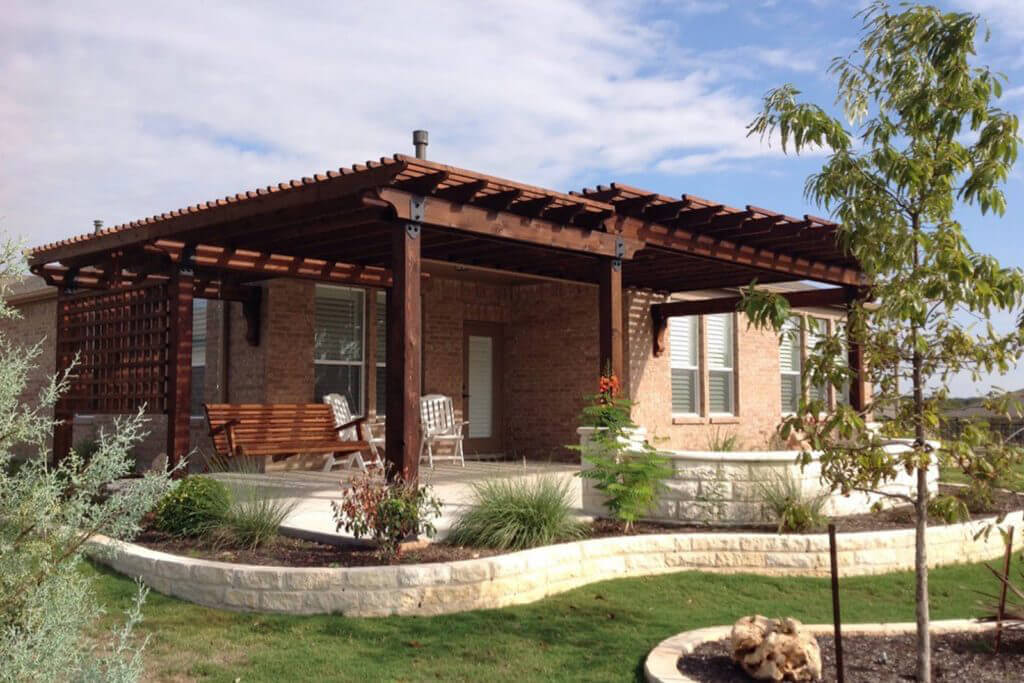
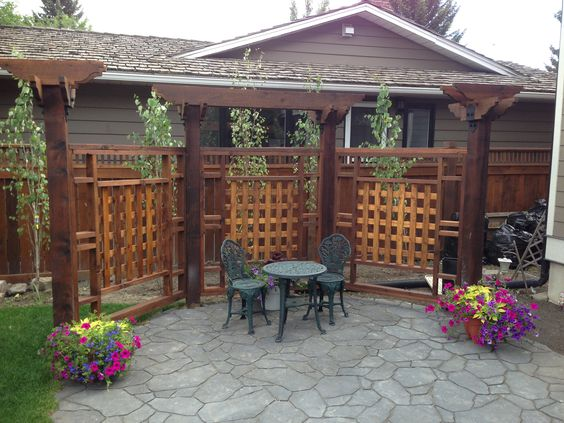
A shower enclosure can be as basic or as elaborate as you want it to be. Additional features, like a roof, pergola, or a half circle pergola design, are an option to dress it up and make it feel like an attractive addition to the yard. My friend built his as basic as can be with scrap lumber salvaged from a fallen fence, and the pickets are spotted with mold and mildew. His wife puts as much effort into not touching the walls as she does into washing the dog.
In fact, my friend’s whole shower, save for the shower head, is built from salvaged materials. However, just because outdoor shower enclosures are functional doesn’t mean they can’t look good too. My friend could have produced a more attractive, sanitary enclosure if he’d put more effort into planning. There are a lot of materials you can build a shower enclosure out of that last longer and are more pleasing to the eye than salvaged lumber. They also function a little better too.
Choosing Materials for Your Shower
For the walls of your shower enclosure, there are as many material options as your imagination can dream up, but easiest to work with, and the most practical, are wood and composites.
- Pressure-treated softwood is the standard construction material for most outdoor projects. PT wood is functional and inexpensive, making it more economical to add features to your shower, like benches. It does require a coating to prevent rotting and splintering, and requires either painting or sealing with polyurethane. A major advantage is these woods are easy to stain and paint. A major disadvantage is that they come wet with the pressure treatment, and their dimensions shift as they dry. The chemicals from the pressure treatment can also corrode nails and fasteners that aren’t properly protected.
- Hardwoods are a higher grade lumber that do better resisting rot and insects than softwoods. Western Red Cedar, although not technically a hardwood, has natural fungicidal and insect resistant properties that compare well to more exotic woods, but is as easy to cut and work as standard lumber. More expensive options include tigerwood and ipe wood, which come from South America and require specialized tools and treatments to maintain.
- Composites are created from recycled plastics and wood (and sometimes bamboo) byproducts like sawdust. These come in a variety of different colors and textures without the need for treatment. They also last a long time without needing maintenance.
It is possible to use other materials for your shower’s walls like concrete and steel, but using these would bump an outdoor shower enclosure from a temporary structure that in most areas don’t require much (if any) permitting to a permanent one that would require permits.
Once you have your enclosure material chosen, you’ll need to find hardware that’s sturdy and can stand up to being repeatedly drenched without rusting. A high-quality standard gate latch and hinges that are meant for use outdoors and treated with hot-dipped galvanization and a powder coating will resist corrosion and let your shower door swing freely without an ominous creak. Generally, any situation that will leave you wet and naked should start without haunted house sounds.
How to Build an Outdoor Shower Enclosure
Most people who want an outdoor shower enclosure want to use it to avoid tracking mud into their homes, and that means a floor of some sort. In my friend’s case, the shower’s posts are simply bolted to the concrete slab of his patio. If you don’t want to leave holes in your patio or pool deck then your best option may be picking up a few pavers from the local home improvement store. You’ll also want to grab a few bags of gravel while you are there.
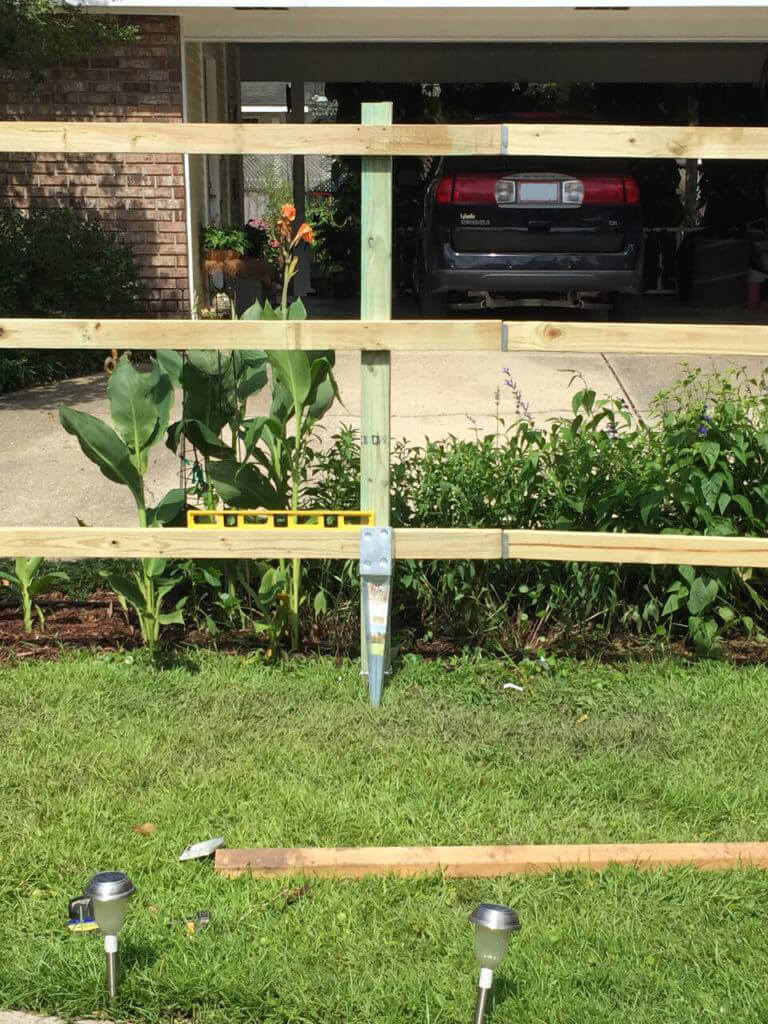
- Installing the posts: First, you’ll need to place your posts. Post-placement is going to be determined by the size of your floor. It’ll require multiple pavers, and if you include an extra wall to screen a changing area, you’ll have to leave a gap in the pavers for the post to go into the ground (or you’ll need to cut off a corner of one of the pavers). To keep the posts in a straight line, simply bury two stakes beyond the perimeter of the area you designated for the enclosure, tie a string tautly between them, and mark your post spacing on them with a marker. Anchor your posts at the designated spots while being careful not to bend the string. You can bury your posts, but using post anchors instead lets you install the posts plumb and in-line without using cement.
- Laying the floor: To start building the floor, simply dig the ground out deep enough to lay your pavers even with the surrounding ground (or slightly higher), and fill between the pavers and around the edges of the pavers with gravel. The gravel allows the overflow from the shower to drain and breaks up the stream of water to prevent washing out under the pavers or around the posts. Pre-made wooden floor panels are also manufactured for this purpose and are an option. The difference is that these will rest on top of the gravel bed instead of in it.
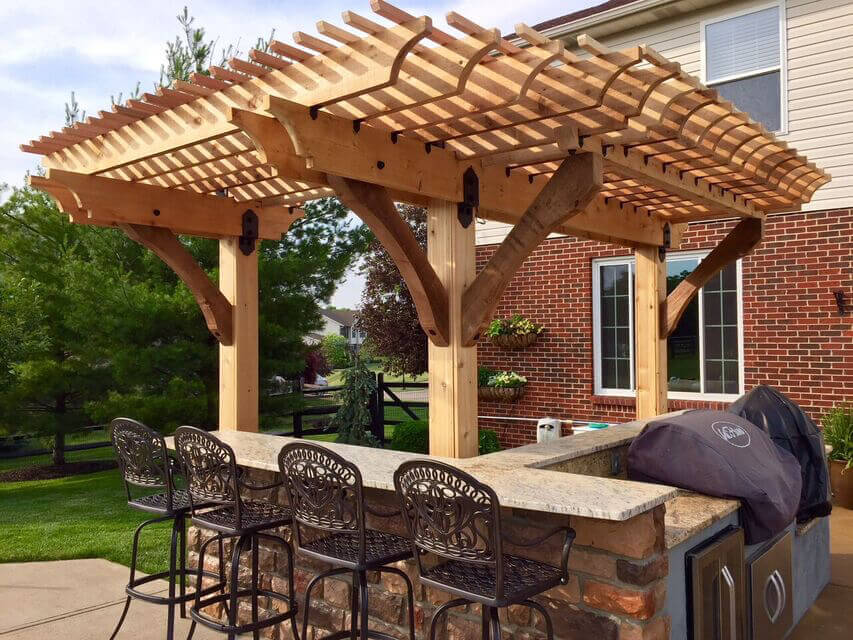
- Adding the walls: Once the posts are erected and the foundation laid, then you’ll place the rails (the pieces of wood your walls will nail to) between the posts. You can nail the rails directly to the posts, but your enclosure will probably be more secure if you use a wood-to-wood bracket to hold the rails in place. From there, simply nail the wood that will be screening you from view to the rails. Additional features like a bench to sit on will require an additional rail to support the backrest. It is possible to add a pergola-style roof to increase the feeling of privacy if desired
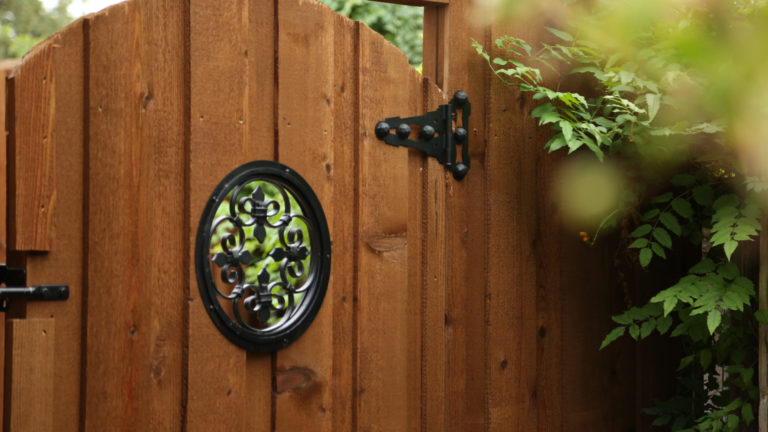
Once the structure is up, it’s a matter of finishing it to suit your needs and your tastes. You’ll need to seal the walls if you use wood, but you can also stain or paint them. Metal inserts that fit into cutouts in the walls, like decorative hardware for wood gates, can also be an attractive addition. One of the easiest ways to make the structure look finished and professional is to use fasteners that are ornamental as well as practical.
There are many manufacturers of gate and ornamental hardware, but OZCO Building Products is one of a select few that put as much effort into how their hardware looks as they do to engineering it to last. Their Laredo Sunset line of wood ties and anchors hold timbers fast with 3/16 inch steel that has been hot-dipped galvanized, e-coated, and powder coated to resist moisture, corrosion, and fading from UV light. This is hardware that brings you the time-honored look of wrought iron using modern materials. Take a look at our locator to find an OZCO distributor or pro in your area.


Leave a Reply