A DIY Privacy Screen Makes a Simple, Attractive Addition to a Yard
A DIY privacy screen is a great way to create a personal sanctuary and add visual interest to your yard.
There are a few people I know of who have built privacy screens on their properties. One friend with a townhouse built a freestanding trellis in her backyard and added a privacy screen around the top. This simple modification created a relaxation area that was screened from the upper stories of the homes surrounding her backyard, and she frequently spends weekend afternoons reading there. One family member with a huge lot built a privacy screen on one side of her back patio in order to block the view from the highway bordering her property, and when rush hour was over she could simply step out from behind the screen and go back to enjoying the view of the lake across the highway. Finally, an old coworker who moved out to Arizona built a freestanding privacy screen across the rear of his house. It blocked the afternoon sun shining in through his screen doors and noticeably reduced his power bills.
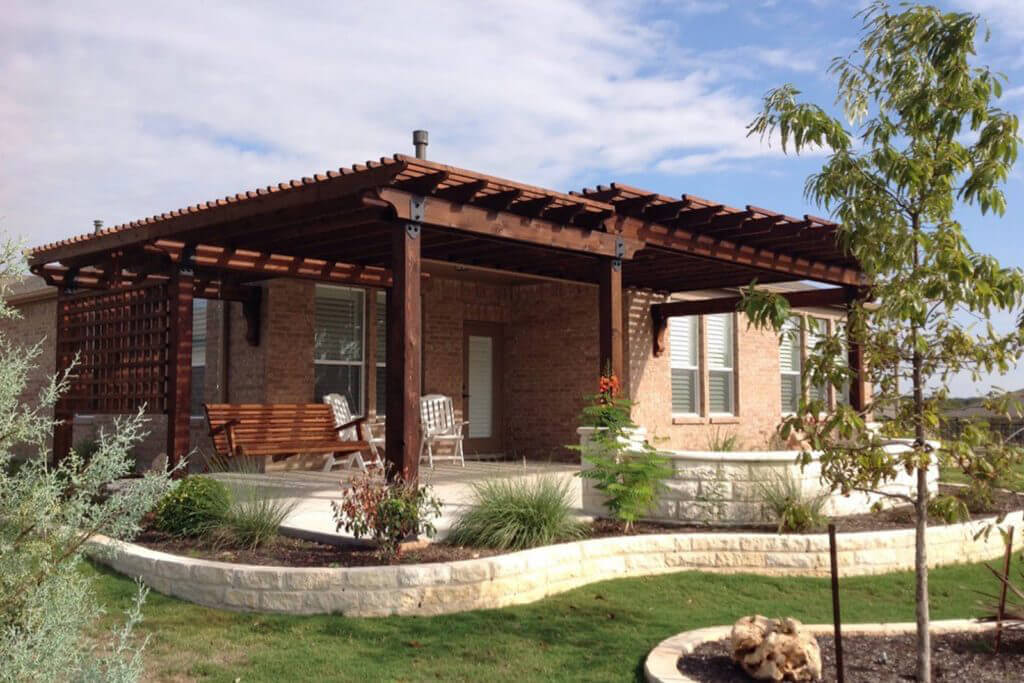
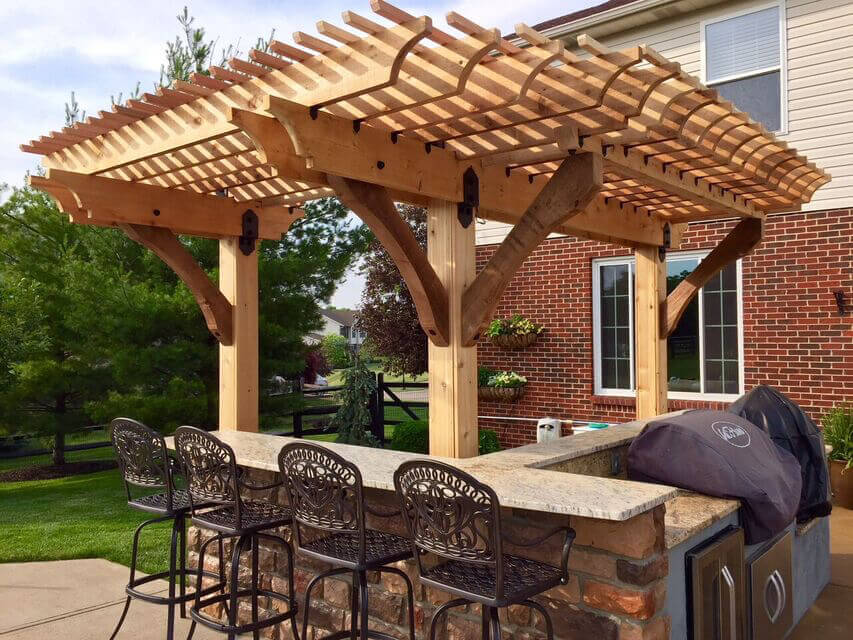
A privacy screen is an adaptable structure that’s practical for all kinds of homes in all kinds of environments. A DIY privacy screen can also be customized to your personal style and makes an attractive addition to a yard whether it’s freestanding, part of a pergola, or built as an extension of a house. And since these structures are so simple, they make a good introduction to basic construction for beginners.
Freestanding DIY Privacy Screens
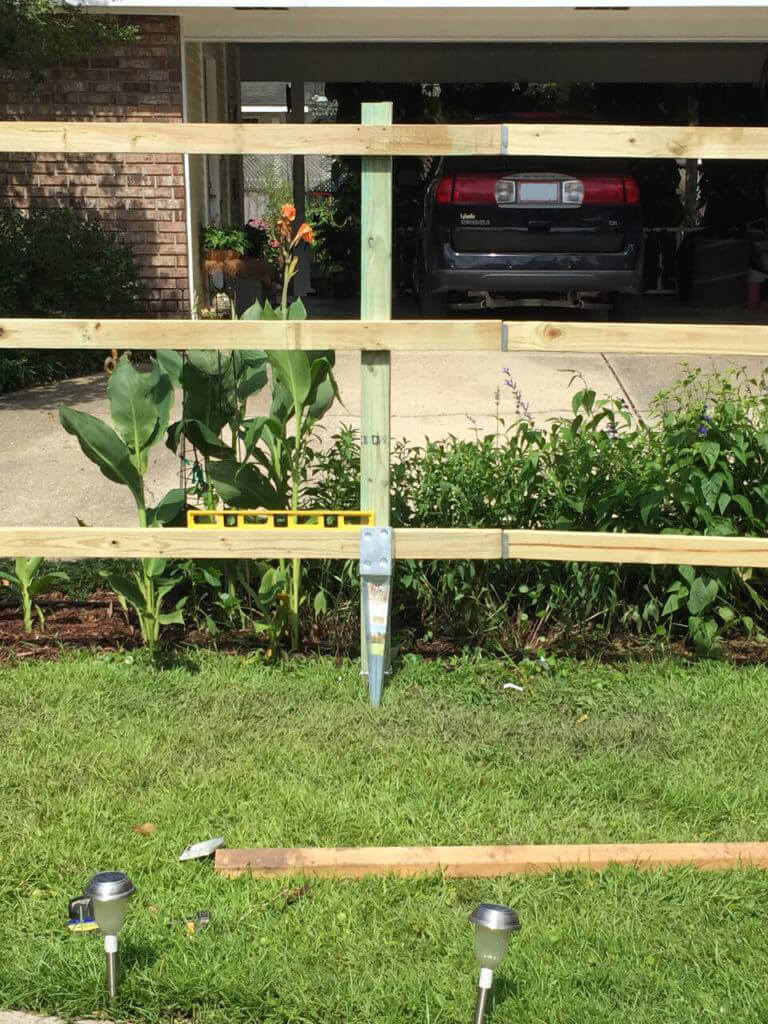
A freestanding privacy screen is usually one that is purposely built from scratch as a privacy screen. This isn’t too difficult, and if you know how to build a straight fence, you can apply this knowledge to laying out the posts for a privacy screen. Hardware like post anchors and bases will make things much easier when anchoring the posts. Post anchors can simply be driven vertically into the soil. If working on concrete, post bases screwed into the concrete using wedge anchors will do the same. This type of hardware also makes it easier to plumb your post, ensuring that it’s perfectly vertical.
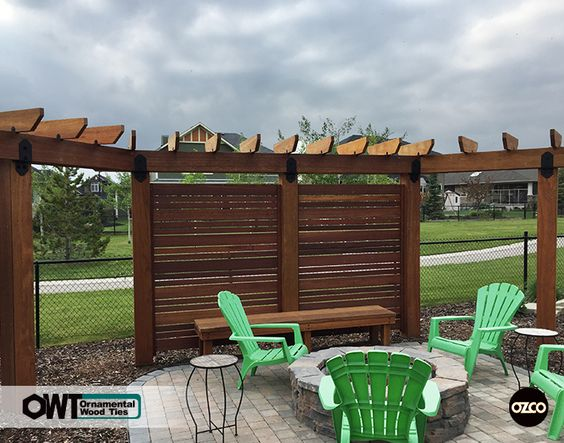
Once the posts are in place you can use joist hangers to hang a section of privacy fence on the posts at the appropriate height. Simply remove some of the pickets at the edges of the fence panel to expose enough rail to allow it to slide into the joist hangers. In more substantial fences where the fence is supported by a picture box-style frame, the use of additional hardware might not be necessary. The frame can provide a nailing surface where the panel can be attached to the posts. In cases where the long face of the frame parallels the pickets and doesn’t provide a nailing surface, a post-to-beam connector flipped horizontally can work. These are designed to keep two-by-eight or larger beams firmly in place on the top of a post, and the weight of the fence section is trivial in comparison. However, the bottom rail should be in the saddle of a joist hanger.
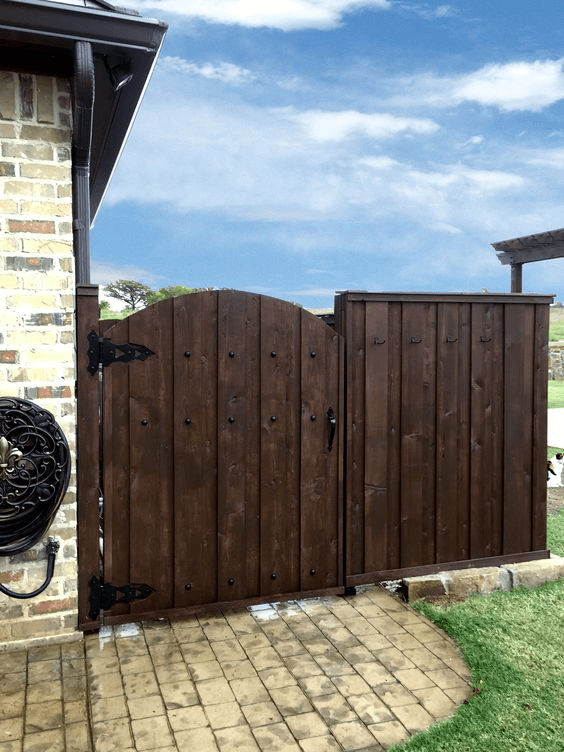
DIY Privacy Screens Built on an Existing Structure
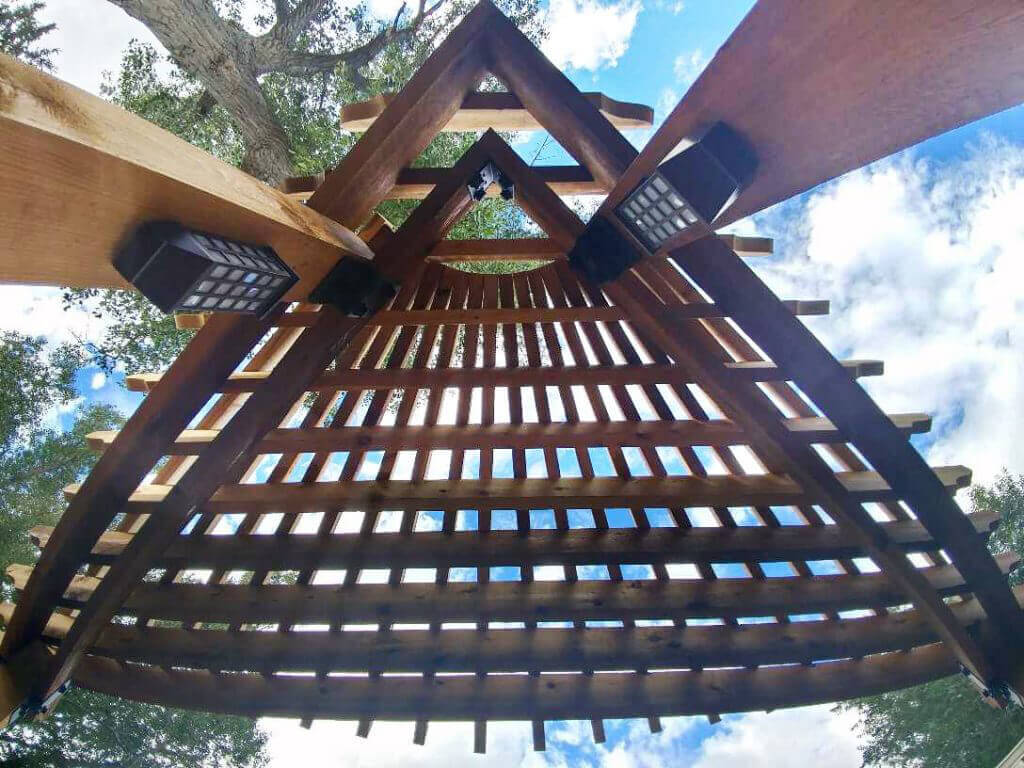
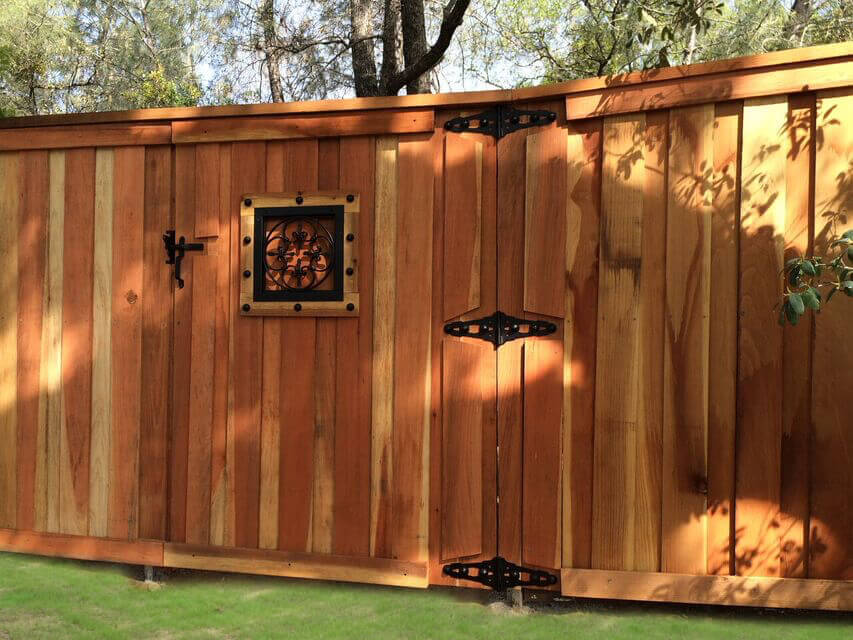
When a privacy screen is added to an existing structure, the existing posts might not work with the dimensions of a premade fence panel. In these circumstances, it may be easier to build the actual privacy screen from scratch rather than try to modify a section of fence or premade screen to work. There are several options for doing this. One of the easiest is to simply choose a relatively broad board and nail them on or between posts. This can be used to make a full screen that covers the entire height of the post or a partial one that covers only a portion. This is a fairly popular option since it’s easy, and it fits in with modern designs well. Others don’t like this style; my family member, for instance, deemed it too chunky to look good on her back porch and opted to place a latticework trellis between two posts on her back porch instead. A trellis makes a very functional DIY privacy screen (and a beautiful one, if you can train vines to climb it).
To install a trellis as a privacy screen, most people simply cut it to size and nail it to the posts. However, this doesn’t have the finished, put-together look that many homeowners crave. An easy way to give trellis a professional look is to frame it, then attach it to the posts.
Sandwich framing hides the edge of the trellis with a frame of boards placed on both faces of the trellis along the edge. The trellis can just be stapled to the boards, but a through bolt in the corners can give the screen a robust appearance. Post-to-beam connectors flipped horizontally can connect the screen to the post and dress up the appearance of both. Since this sort of screen is so light, post-to-beam connectors should be able to hold the screen in place without issue.
Using Hardware to Create DIY Privacy Screens
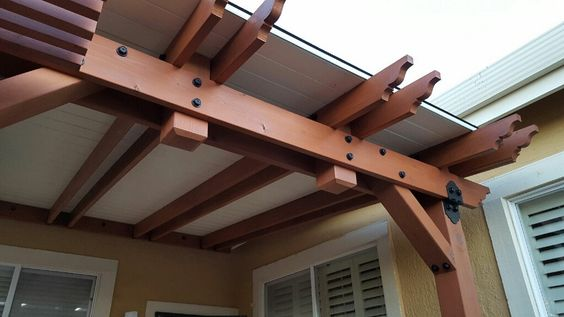
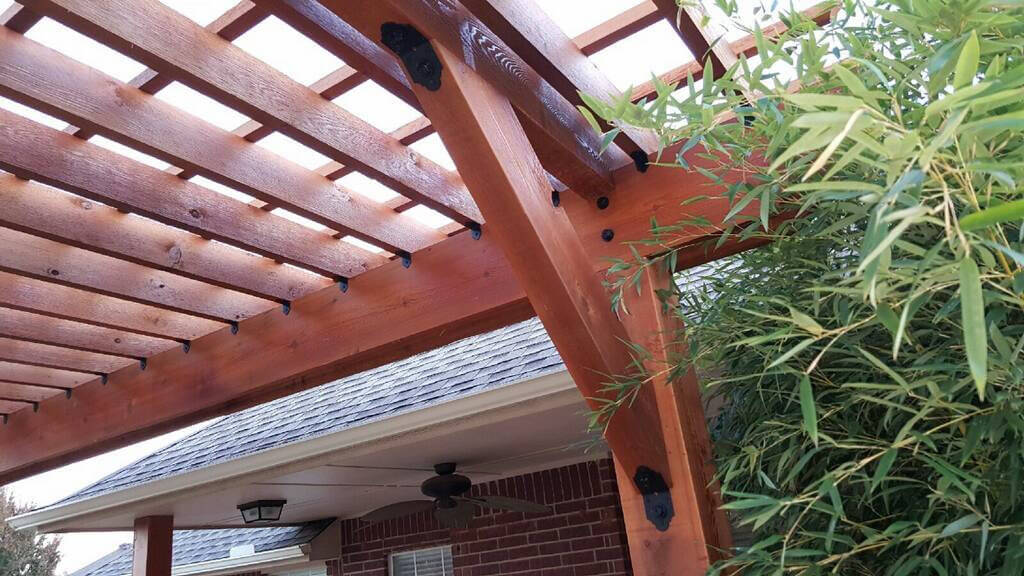
You’ll notice that I’ve mentioned various pieces of specialized hardware several times in this piece–that’s because high-quality decorative hardware works perfectly for projects like this by fastening components in place as well as giving the structure a finished, professional look. Seek out attractive powder-coated versions of:
- Joist hangers: These are saddle-shaped brackets attached to a flat flange. They’re normally used for hanging joists from a beam, but they can be used to hang a section of privacy fence or lattice by its rails. The flat flange is screwed onto the post, the rails fit into the saddle, and both are screwed into place.
- Post bases or post anchors: These secure posts to the ground or to concrete slabs, piers, or footers. The chief advantage of post bases is that they make getting a plumb—a perfectly vertical post—much easier. If you choose an attractive post base, they can also make a project look much more finished and attractive.
- Post-to-beam connectors: These come in a variety of shapes, but what they’re made for is connecting beams—the horizontal parts of a structure—to the posts. These come in different shapes and dimensions, and they can be used in different ways on a privacy screen.
The majority of hardware meant for use with timber is plain galvanized steel. It’s strong enough, but it’s really meant to hide behind drywall, and has a distinctly utilitarian look. When this is used in situations where it will be seen, like on a DIY privacy screen, it’s usually painted over. This conceals the fasteners and fittings but loses the natural grain and warmth of the wood. A better option is to use beautiful hardware with a rugged look and a robust coating that’s made to be seen.
OZCO Building Products specializes in tough decorative hardware that complements wood, has a sturdy design, and uses a robust powder coating to keep it strong and good looking over the long haul. It’s perfect for decorative and functional structures like DIY privacy screens as well as arbors, pergolas, and pavilions. OZCO also provides plans for nearly any sort of any outdoor project. You can contact OZCO to find out more or find a dealer near you.


Leave a Reply