How to Dress Up a Fence: Ideas for Adding Decorations to Beautify Your Fence and Gate
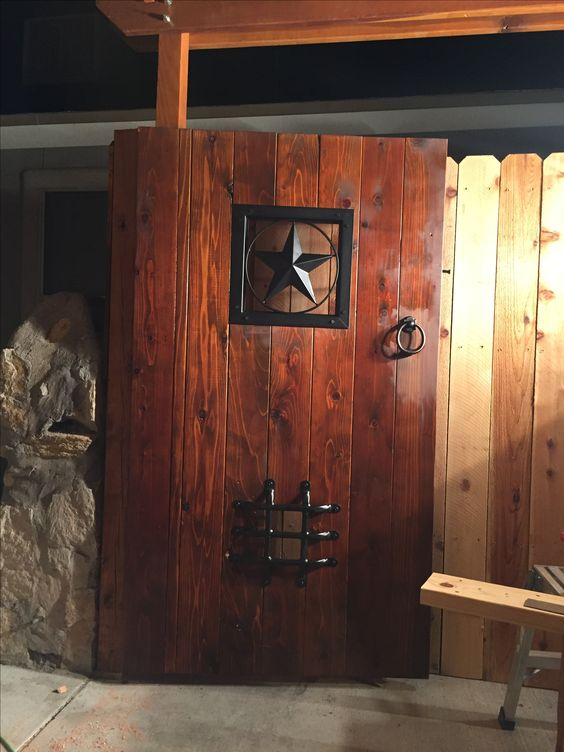
The family down the street from me has a Dalmation that’s an escape artist. This dog was once able to get over the wooden privacy fence in the backyard by climbing onto the trash cans and then leaping over the fence. This tendency earned him the nickname “circus dog,” and prompted his owners to start leaving their trash cans in the side yard. Undeterred, the dog then dug his way out of the backyard under the fence. To prevent this, my neighbors buried a corrugated plastic barrier next to the fence to keep the dog from digging. Finally, the dog resorted to ambush tactics. He would wait by the gate for someone to open it, and then make a mad dash for freedom. My neighbors finally cut two windows in their gate. One, up high, let them see if their dog was skulking behind the gate, and the other, down low, acted as a dog window in the fence, calming the dog by satisfying some of his desire to participate in the outside world. This seems to have stopped Houdini (Houdoggy?) for now.
The grates covering the windows in the gate did create a new problem, though. They’re sharp-looking, wrought iron-type hardware, and they’ve really emphasized how old the gate and the rest of the fence is. The family can’t afford a new fence right, and they don’t have much idea how to dress up a fence to make it look nicer. There are lots of ways to do this, though. We’ll look at a few of the most effective and least expensive methods.
Washing Your Fence Can Give it New Life
You may be familiar with fences like the one my neighbors have. These are old, grayed wood fences with uneven discoloration and sometimes a few green or black smudges of mold. A first glance at these fences might suggest you have no choice but to get a new fence. However, as long as the wooden fence slats aren’t actively splitting, then a lot of this gray color is at the surface level, and pressure washing your fence can restore at least a little bit of its luster. There are some things you need to know about pressure washing wood before you start, though.
The most important caveat is not to use too much pressure. Overdoing it on the force will ruin the slats of the wood, wearing away their face and etching them with the passage of the washing tip. An appropriate pressure for power washing is around 500 psi; this will wash all the grit in deep crevices out without damaging the boards. This level of pressure is also more forgiving if you accidentally go against the grain, and shouldn’t leave a permanent mark on the wood if you do. If you find that this pressure setting isn’t effective, slowly increase the pressure until you begin to see newer-looking wood appear. Go slowly, slat by slat, and take your time until you’ve worked your way around the entire fence. If you need to go into your neighbor’s yard, be sure to ask permission first.
When it’s all cleaned, the change to your fence should be quite impressive. The only drawback is that a refreshed fence won’t stay that way forever. Fortunately, sealers and stains can help it retain its new look.
Sealing or Staining Your Fence for a Whole New Look
To keep moisture, mold, and mildew from taking hold and damaging your freshly-cleaned fence, it’s a good idea to seal it. This is as simple as buying a translucent sealer, which will come either in buckets to be applied with paintbrushes or in sprayers which will spray an even coat onto the wood. The choice between the two will come down to which method you think will cover your fence better and whether brushing or spraying is easier for you. My personal experience has been that sealer applied with a paintbrush covers the wood better, but takes longer to put on than the spray version.
Stains are another good way to change the look of your fence, and they often work as sealers as well. They come in both polyurethane and oil-based versions. Polyurethane is water-based and fast drying, while oil-based stains offer richer colors and tend to condition and protect wood better. Oil-based stains also last longer than water-based ones, but take a long time to dry, which will add to the length of the project. Once your fence is stained, sealed, and fully dry, you may want to consider changing out some of the hardware on your fence and gate.
How to Dress up a Fence with Wrought Iron-Look Hardware
My neighbor’s issues with their fence started with new hardware set into cutouts in their gate. The problem wasn’t the hardware itself; decorative hardware for wood gates can be very appealing and can make a big difference in the look of the fence and gate. But the new hardware highlighted the gate’s old rusted hinges and latch, making the family think about changing those out, too. It’s best to swap out all your hardware at once if you’re making this upgrade, and it’ll work even better if you’ve just refreshed your fence and gate by washing and staining it.
Anyone who has already done work on their fence is likely aware that hardware corrodes, though. Untreated steel rusts very quickly, and galvanized steel takes on whitish patina soon after installation. Neither of these looks very good with a rejuvenated fence. A better option is coated hardware, which not only has an attractive dark finish, but will actually last longer, too. Not all ornamental hardware is durable and long-lasting, though. Some ornamental “hardware,” rather than being thick steel, is effectively painted sheet metal, and neither its looks nor its material will last very long. If you’ve put effort into renewing your fence and helping it last longer, the hardware should last along with it. Look for thick, HDG steel with a baked-on powder coating to go with your newly dressed-up fence.
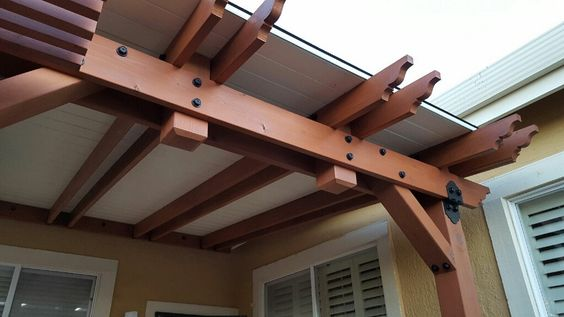
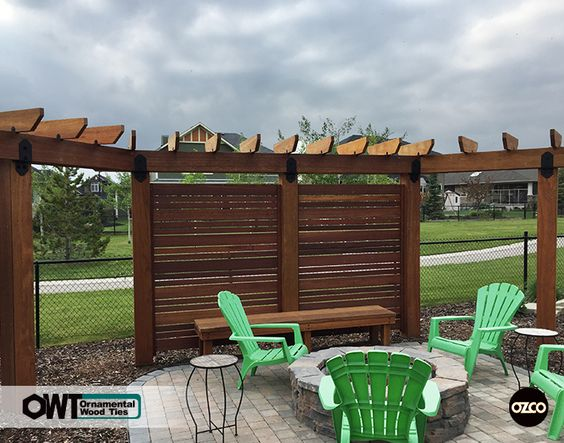
OZCO’s OWT ornamental wood ties and gate hardware are examples of quality hardware that fulfills a decorative purpose. OZCO hardware has a rugged look that hearkens back to black iron straight from the blacksmith’s forge, and it’s as tough as it looks. The thick steel is hot-dipped galvanized and powder coated to stand up to nearly any weather without rusting. For more information or to find a dealer, contact OZCO online.
Image sources: Flickr CC users David Mulder and thelongs08


Leave a Reply