Attaching a Pergola to a House to Create a Wall-Leaning Structure
I had a friend who wanted to build a pergola but didn’t quite have the room for a four-post structure. His entryway was pretty narrow and pergolas tend to be kind of wide. But that was ok. As I told him, the beauty of pergolas is in their flexibility. I suggested a two-post structure, with his house acting as the support for the post-less side. Attaching a pergola to a house can save a bit of space while providing the support the structure needs. With a few adjustments to the standard design, and the installation of a strong ledger board, your house can act as your pergola’s support.
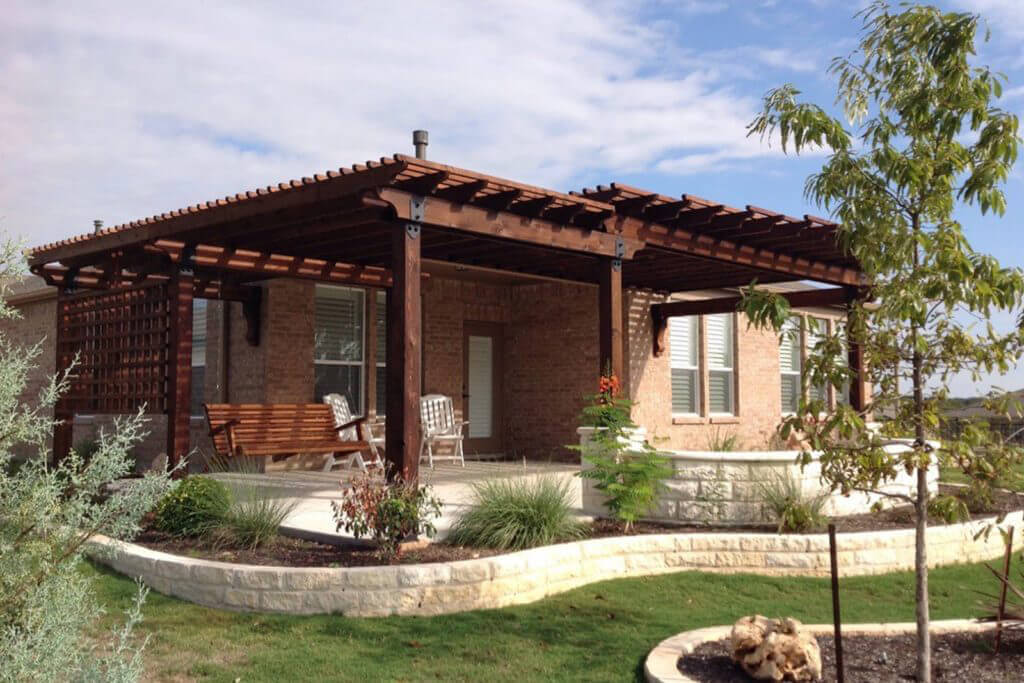
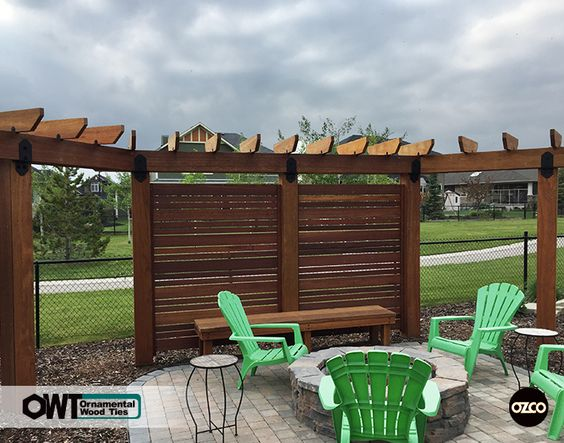
Traditionally, pergolas are four post structures, but as my friend learned, it’s also possible to work with two posts by using your home to support the other side of the structure. This is commonly called a wall-leaning pergola, and it’s an excellent option for the front of the house when you really want to create an entryway focal point. But this type of pergola also requires some special considerations, which we’ll examine below.
Unique Requirements for Wall-Leaning Pergolas
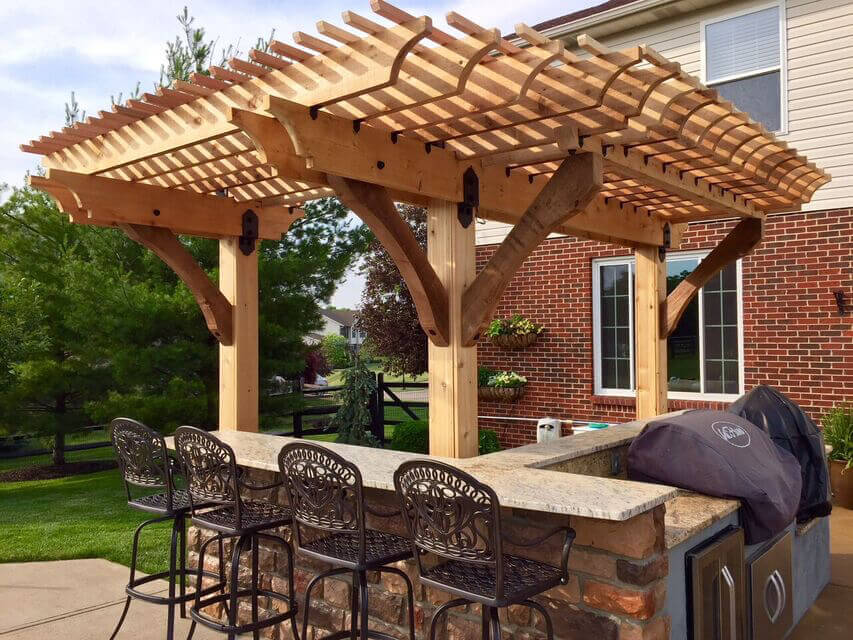
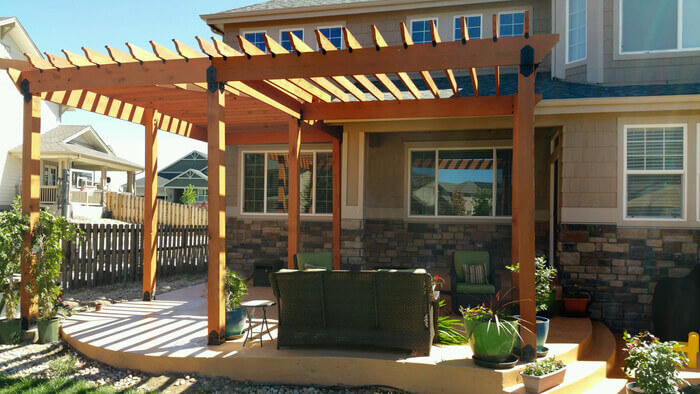
There are a lot of reasons to choose a wall-leaning pergola. You might be looking to create shade by building a pergola on top of your deck, or you might be looking for a space-saving way to add a pergola to the front of the house. No matter where you’re putting the pergola, keep in mind that, generally. you’ll be omitting two of the posts in this project, so stability is your number one concern. This means that the pergola’s connection to your home must be extremely strong, or it could damage the walls of your home. Here are a few other things to note about wall-leaning pergolas.
- Use joist hangers for brick, ledger board for wood: If you’re attaching your pergola to a brick home, you can’t use the typical wooden ledger board to anchor your pergola to your wall. The ledger board is simply a piece of wood attached to your home to which you would fasten your pergola’s rafters. As a result, it holds most of the weight of your pergola. The issue with brick is that it tends to crumble. When you install a ledger board and attach the pergola to it, that ledger board becomes very heavy, which can lead to the brick coming loose. With brick, it’s generally best to let the wall become your ledger board. That can be a bit more difficult for measuring and placement (since you’ll have to attach individual joist hangers to the wall to hold each rafter), which is why those with brick exteriors more often choose four-post pergolas instead.
- Wood lean-to styles only work with foundation homes: If you’re building a pergola for a home without a traditional foundation, you’ll want to go with a four-post pergola. Heavier wall-leaning pergolas work best with homes that have a traditional poured concrete foundation. Otherwise, your heavy pergola will pull on your home, potentially damaging it and compromising your home’s integrity.
- If you’re painting your pergola, paint it prior to assembly: This will keep you from accidentally getting paint on your house while you’re trying to paint your pergola. If the paint gets scuffed during assembly, you can always touch it up later. The same goes for staining and sealing. Seal your wood before you put the structure together to minimize mess.
By attaching your pergola to the side of your home, you’re putting a lot of weight on that ledger board (or wall). That means the connection between the ledger board and house is very important, as is the connection between the rafter beams and the ledger board. The key to keeping these connections strong is in the hardware you use, which my friend learned pretty quickly. We’ll come back to that point in a minute.
The Basics of Attaching a Pergola to a House
I had to help my friend attach his pergola to his house, at it’s an easier task with a helper. You’ll also want someone to help you install your ledger board to ensure that it’s perfectly level, otherwise your pergola may not sit straight. Here are the basic steps to building a wall-leaning pergola.
- Measure and install the ledger board: Mark where you want your freestanding posts to stand, then work backward and mark the location for your ledger board directly across from those. Use a level to ensure the board is sitting straight and then use screws made of galvanized steel to anchor it to your home.
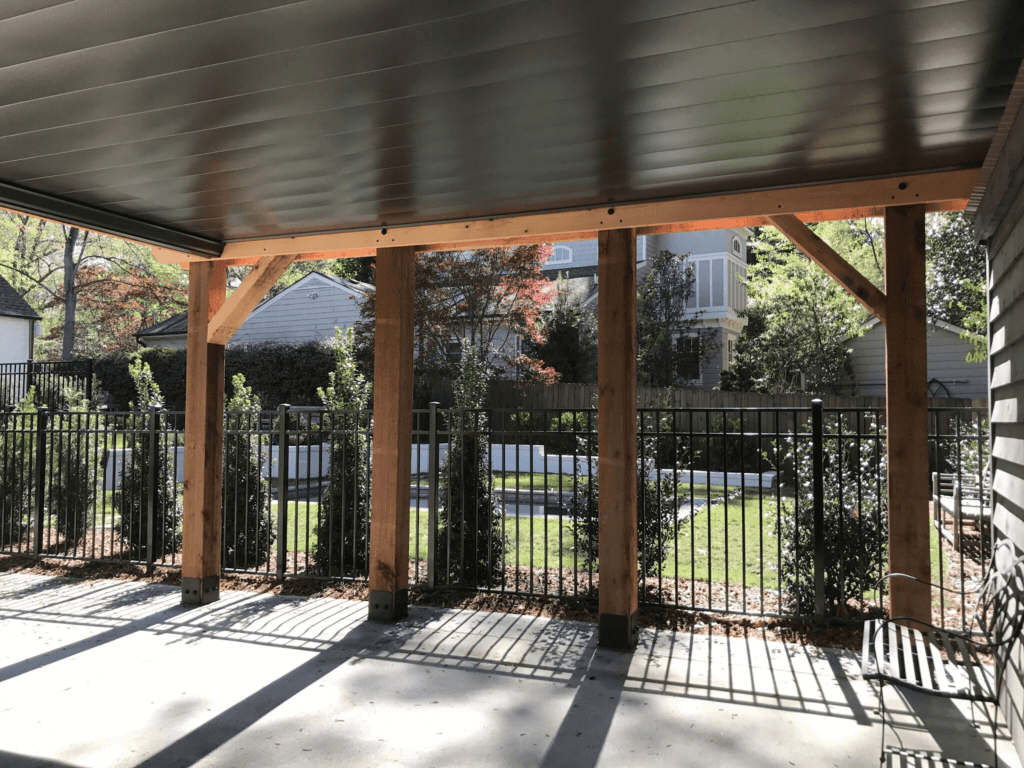
- Anchor and install the posts: There will be weight on these freestanding posts as well as on the ledger board, so you want to ensure you use sturdy anchors that won’t shift or deteriorate over time. When anchoring the post, use wood post anchors made of hot-dipped galvanized steel if you’re installing the posts in the ground, or a post base kit if you’re installing the posts on top of an existing deck. Remember that pressure-treated wood can cause your hardware to corrode faster, so use galvanized hardware, and, if possible, seek out hardware that has been galvanized and powder coated for extra protection.
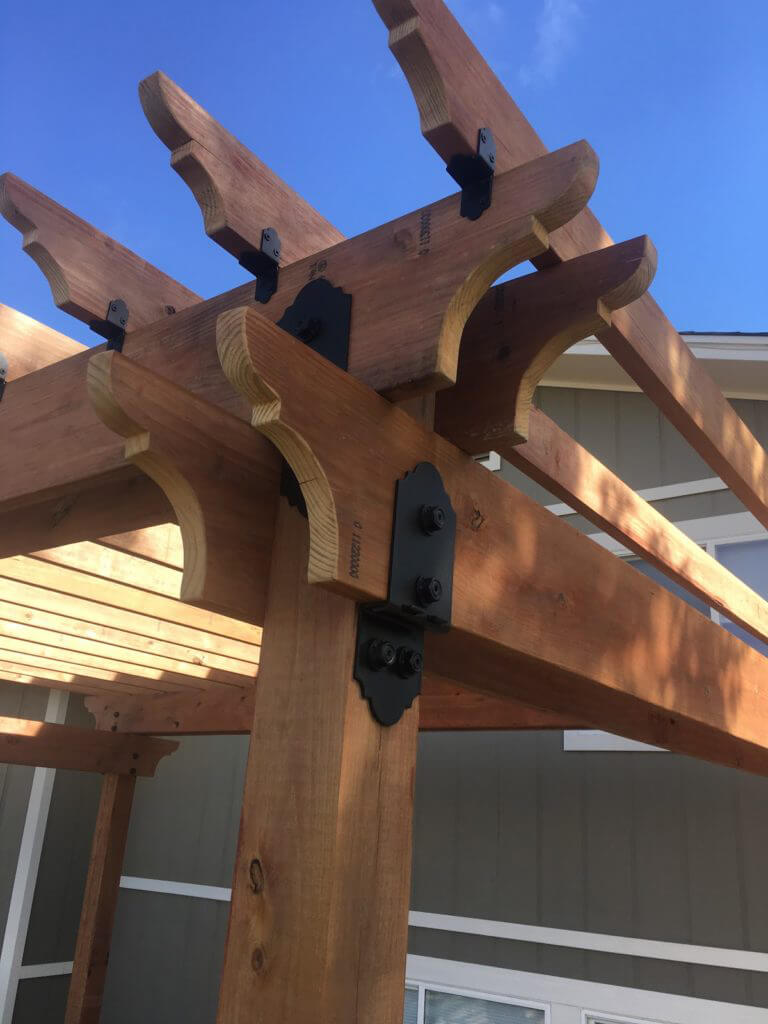
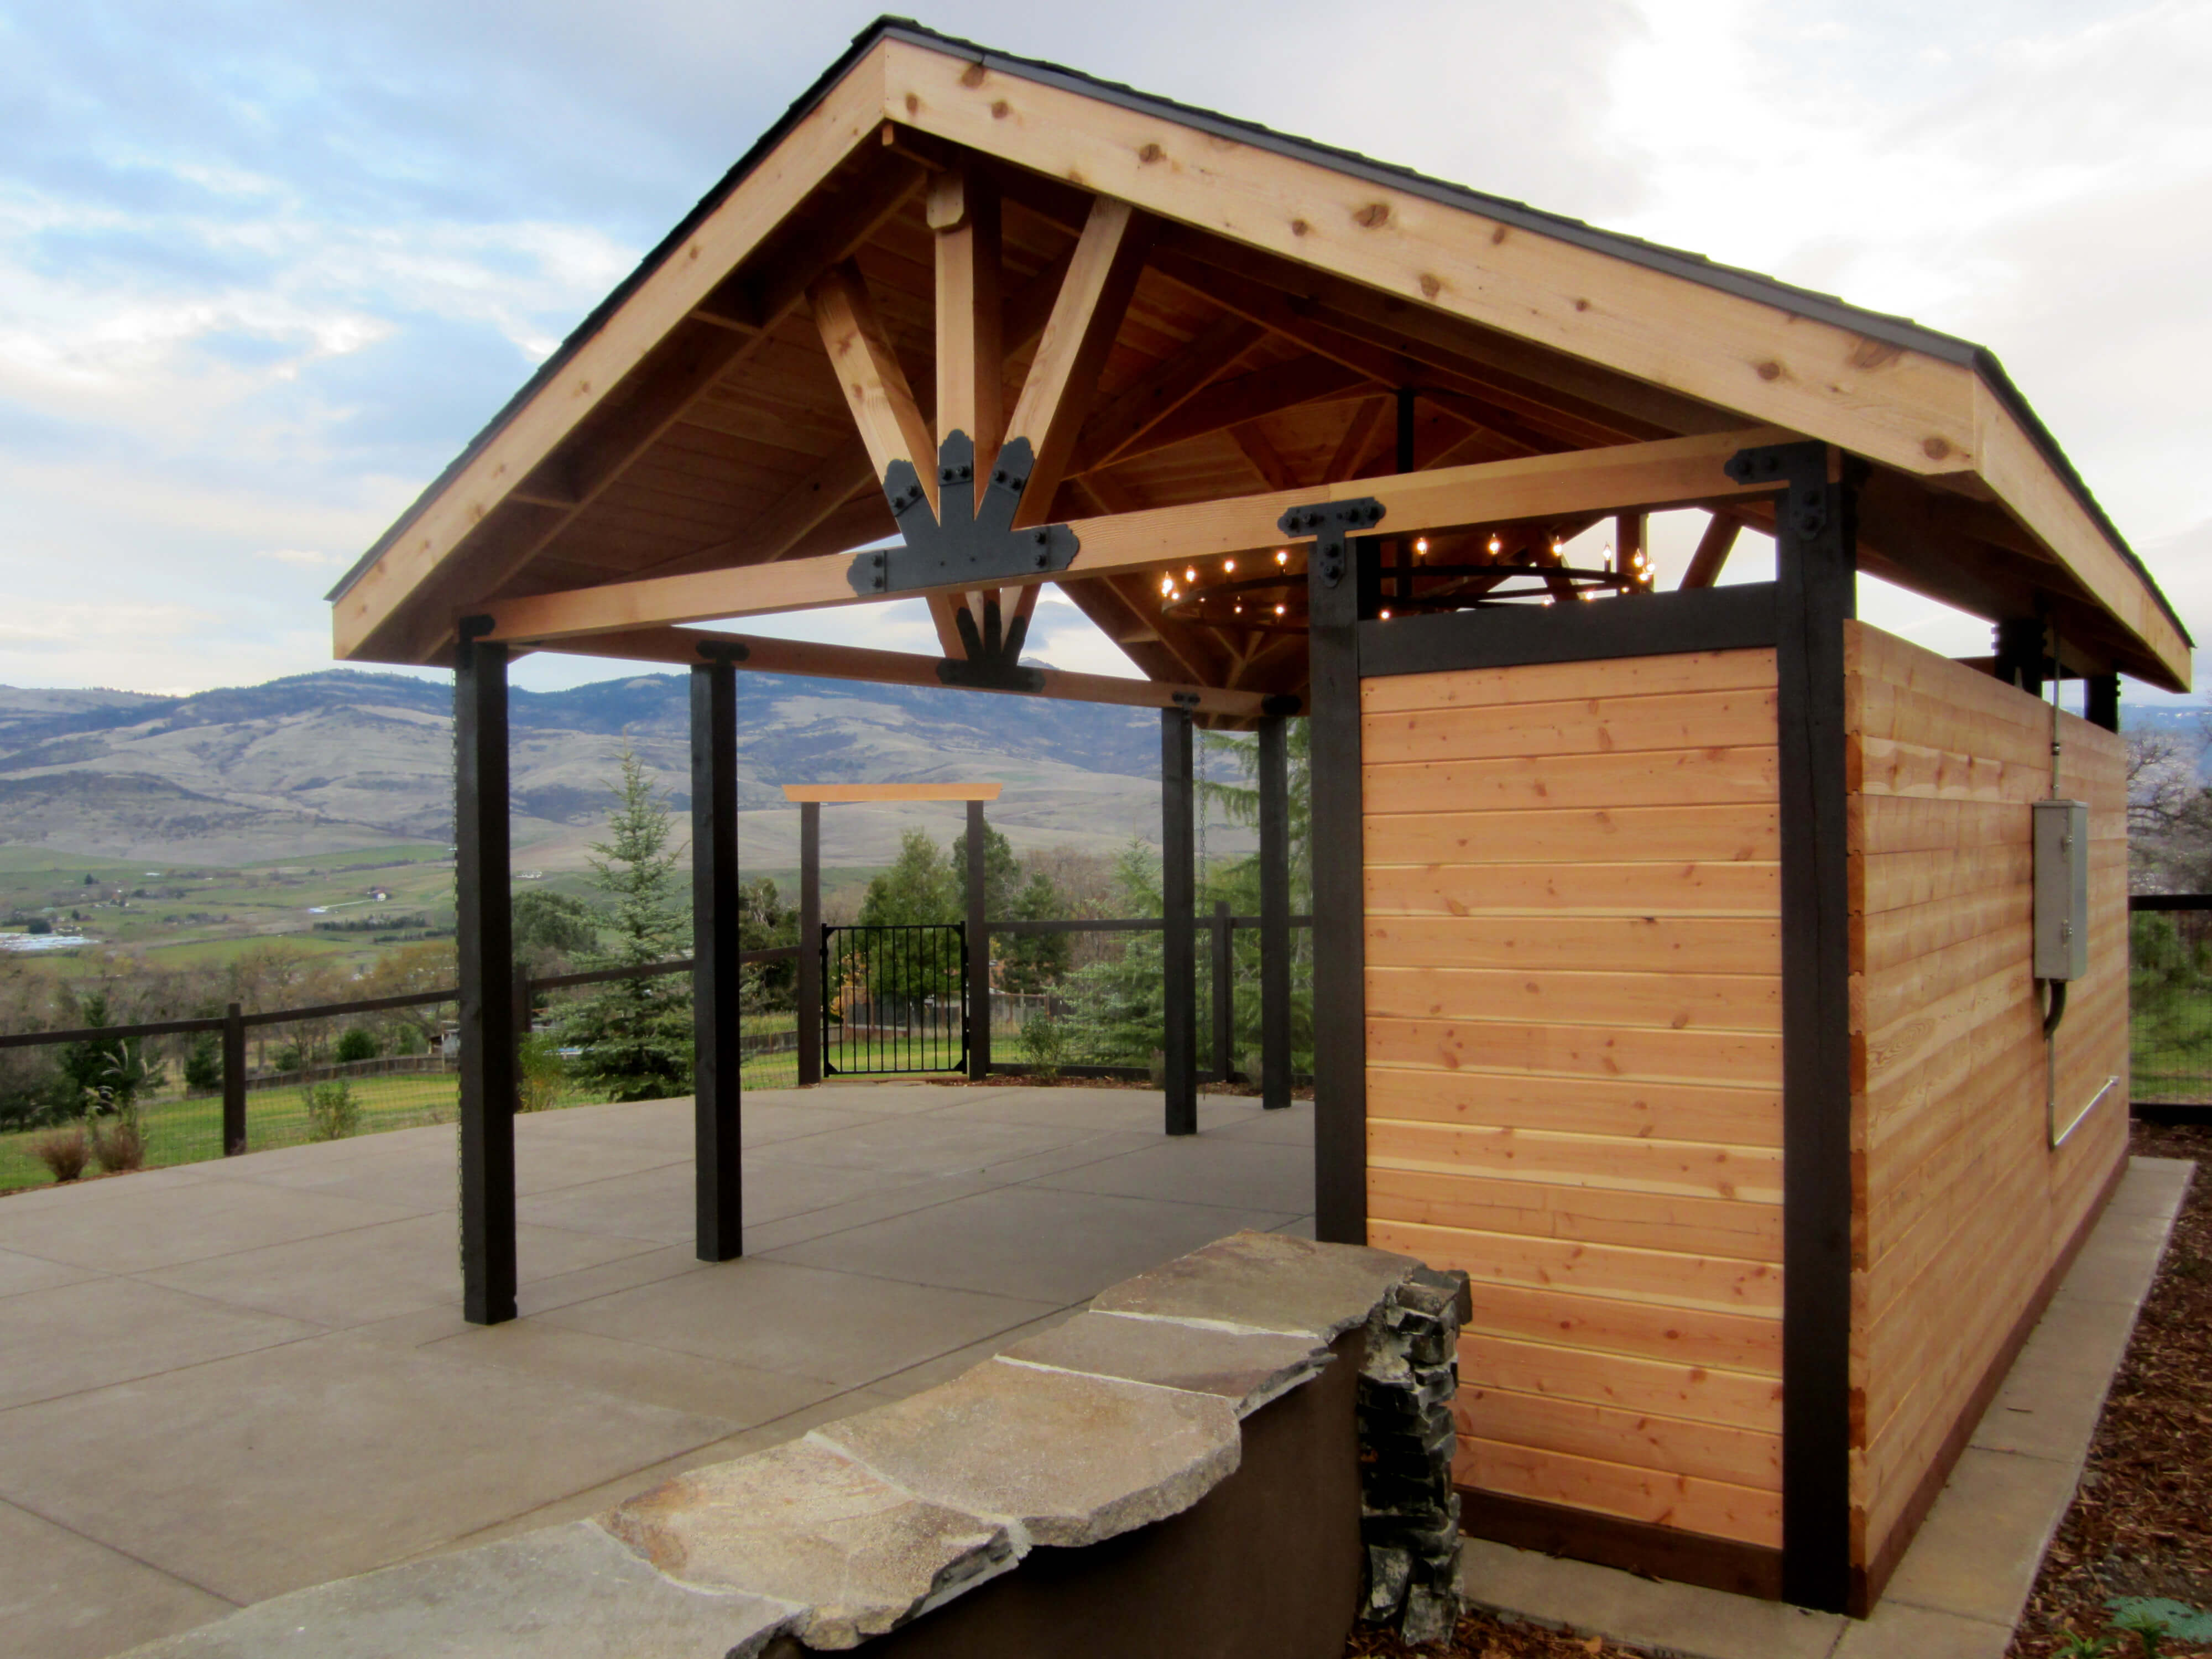
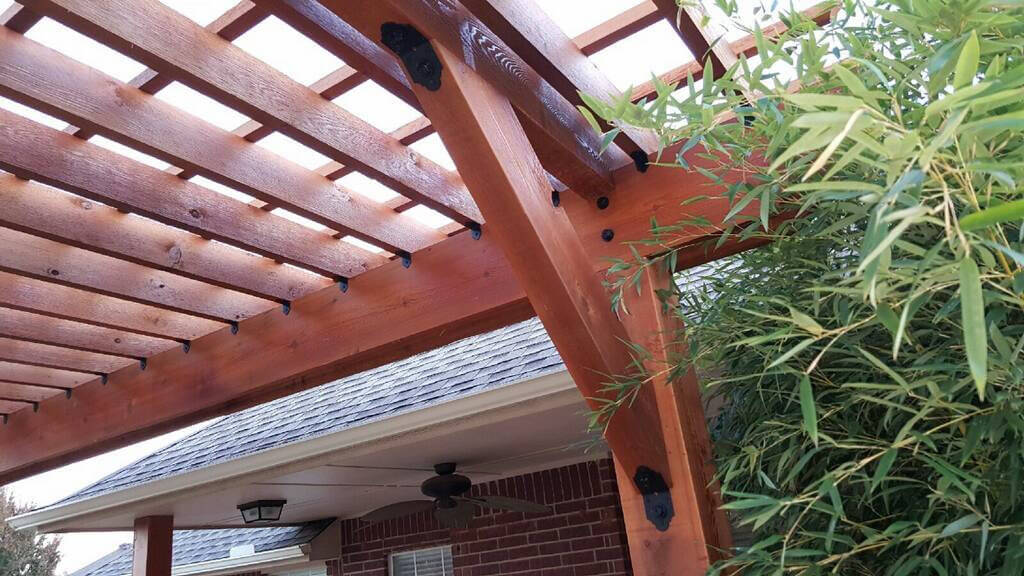
- Install the main beam onto the anchored posts: Install the main top beam to connect the two freestanding posts and serve as the support for the rafters. When attaching this beam, consider using ornamental wood ties that are meant to be seen. This will save you the work of hiding or painting over ugly hardware.
- Install rafter clips and rafters: Fasten rafter clips to your ledger board to support your rafters, and following that, it’s as simple as putting in the rafters to finish off the project. You can either leave the top of your pergola bare, or cover it with a tarp, shingles, or plants and vines, depending on the look you’re going for.
In my opinion, a wall-leaning pergola is a perfect choice in just about any situation, but particularly when your space is limited such as on a small patio. My friend used just a small wall-leaning design to make his entryway stand out, but you can go as big as you want, provided you anchor the structure properly.
One thing that made my friend’s job easier was using hot-dipped galvanized steel hardware from OZCO. Much of their hardware is designed to be seen, and offers an additional level of powder coating, so it adds style to the structure while providing it with the reliable support you need. When you’re building a wall-leaning pergola, extra tough and high-quality products–like OZCO’s–are exactly what you need to complete your project safely. They’ve also got plans for all kinds of projects, including pergola designs.


Comments (2)
Will this work for a brick veneer house?
You can’t attach anything directly to the brick veneer. Fasteners must penetrate into the wall studs.