How to Determine Pergola Rafter Spacing
I spent a happy eight months working as part of a carpentry crew at the Canaveral National Seashore in Florida. The seashore is a wildlife preserve, and to protect the unique ecosystem of the dunes, we were charged with building boardwalks, viewing platforms, and other elevated areas to keep visitors from treading the delicate flora of the dunes beneath their sandal-clad feet. Sometimes we would build pergolas on the existing deck surface of these platforms. The park service had a tendency to order too much lumber, and building pergolas was a useful way to use up the excess lumber while providing visitors with a somewhat shaded place to rest when they’d gotten too much sun.
These extra pergolas ended up being horrible time sinks. The reason was that the structures weren’t part of the original plans, and were added on halfway through. Usually, we did this by deciding to leave certain posts in the center of the platform excessively long so we could use them as posts in the pergola. This led to odd shapes, weird spacings, and constant trips back to boardwalks that were already completed to mess around with the rafters to try to get things to look right. It can be difficult to get pergola rafter spacing exactly right, especially if it’s a pergola with unusual dimensions.
Standard Pergola Rafter Spacing
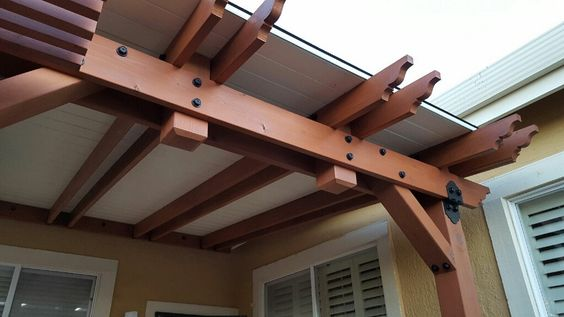
There are two standard rafter spacings, and not coincidentally, they’re the exact same as the joist spacing used beneath floors. The measurements are 12 inches and 16 inches off center rafter-to-rafter. This is a centerline measurement from the center of the board, so about three-quarters of an inch from the side of the board on its narrowest face.
When to use 12-inch spacing: You want to use 12-inch spacing on smaller pergolas where the weight of many rafters close together won’t cause the beam to sag, or on pergolas 14 feet in width and under.
- Since 12-inch spacing is an even foot, it becomes simple to place rafters on a pergola by determining whether the number of rafters will be even or odd. If the pergola’s width is an odd number of feet, you will have an odd number of rafters; if it is an even number of feet, you will have an even number of rafters. This is determined by the total number of whole feet in your measurement without regard to the leftover inches. For example: a 12-foot eight-inch pergola would get an even number of rafters, and a 13-foot eight-inch pergola would receive an odd number of rafters.
- For instance, if you have a pergola that is nine feet across its wide end, spacing the rafters a foot off center is easy.
- You would simply find the center of the pergola, place a rafter at this point, then work your way to the ends of the pergola, placing each subsequent rafter a foot off center from the previous rafter for a total of eight rafters that stop about a foot away from the edge of the pergola’s beam.
- If your pergola is an even number of feet wide, you find the center point, measure six inches to either side and place your first rafters there. Then you’ll place subsequent rafters a foot off center from those rafters until you reach the end, for a total number of nine rafters that stop a foot short of the edge.
When to use 16-inch spacing: A 16-inch spacing is used for longer spans where the weight of so many rafters only a foot apart would be a problem for the beam to bear. This means roughly anything more than 14 feet in width.
- An easy way to determine your rafter spacing when working with this wider spacing is to convert the total number of feet you’re working with into inches, and divide the number by 16.
- So for a pergola that is 20 feet wide, you would convert that number to inches–in this case that comes out to 240 inches–then divide it by 16 to get the total number of rafters needed. In this case, that number is 15.
- Since this is an odd number, you would find the center point of your pergola, place your first rafter there, then place each subsequent rafter 16 inches off center from the last rafter until you’ve reached the end of the pattern.
- If an even number was produced by dividing your number of inches by 16, then you would find the center of the pergola and place rafters eight inches to either side of the center point.
- In the example given, since we’ve divided the whole length of the pergola, we’ll end up with rafters that sit on the very end, and if the 16-inch pattern is stringently maintained, the rafters will actually overhang the end by three-quarters of an inch.
- One solution to this is to simply leave the last rafter on either end off, for rafters that stop at 15 and a quarter inch back from the edge of the beam. Another option is to adjust spacing as you go to distribute any uneven measures across multiple rafters so they aren’t noticed by the eyes of onlookers.
Anyone who builds anything does a surprising amount of this adjusting, or ‘fudging’, and there’s a bit of an art to it, especially if you’re determined to be precise. Next, we’ll talk about adjusting rafter spacing when the numbers don’t quite work out.
Fudging Rafter Spacing on Your Pergola
In the example given above, with a 16-inch spacing, it is actually possible to add the rafters at the very edges with no adjustment to spacing. If these rafters are added with their exterior face flush with the beam, the center-to-center measurements between the last two rafters will be 15 and a quarter inches center-to-center versus an even 16 inches center-to-center for the rest of the rafters on the pergola.
This isn’t likely to be noticed by anyone but the builder, someone with a trained eye, or a particularly persnickety person. Unfortunately, this last category often includes spouses, who are the most persistent critics of DIYers. The solution is to make the difference in spacing much smaller and to spread it across multiple rafters.
A common rule of thumb is that you can be one-eighth of an inch off in spacing without it being visible to the eye. In the given example, the final space on the end of each side of the pergola is three-quarters–or six-eighths–of an inch off. So you need to move the six rafters closest to the edge of the pergola in by one-eighth of an inch to make this space vanish and create a pergola that looks symmetrical to observers. If you’re starting by placing the rafter by the center, that would be the second rafter from the center on each side that needs to come in. If your span is longer, then you have more space to work with and can use a smaller dimension like one-sixteenth of an inch to make differences in spacing disappear.
If the number you’ve produced by dividing by 16 is an even number, then you actually have a little more flexibility because there is no fixed center rafter, only a center space between rafters. If, for instance, there was a three-quarter inch goof in spacing on each side of a pergola that had 16 rafters–as opposed to our previous example of 15–you could simply pull all of the rafters closer to the center point of the pergola to make up for that space. Here’s one way to go about that:
- The total overall space you need to shrink is one-and-a-half inches, or six-quarters of an inch, or twelve-eighths of an inch, or, subdividing it further, 24 sixteenths of an inch. Even further, it is 48 thirty-seconds of an inch.
- Since 16 goes evenly into 48 three times, you can arrive at the number you need to shrink your gap for symmetrical spacing across the pergola: three thirty-seconds of an inch or 3/32.
So, the rafter spacing should be 15 inches and 29/32 of an inch for absolutely even spacing.
The Only Hard and Fast Rule of Rafter Spacing
The key thing to remember when it comes to determining pergola rafter spacing is that you cannot go more than 16 inches from center-to-center between rafters. Even though most pergolas don’t have anything going on top of the rafters, most building codes require them to have the same spacing as structures that support floors or roofs. This is because it is very common for roofs and other add-ons to be placed on a pergola at a later date. Since a foot spacing is what is used for joists under greater loads than normal, you can safely expand your spacing beyond this. However, 16 inches is considered the maximum spacing for surfaces under normal loads, so you cannot expand beyond this without violating building codes.
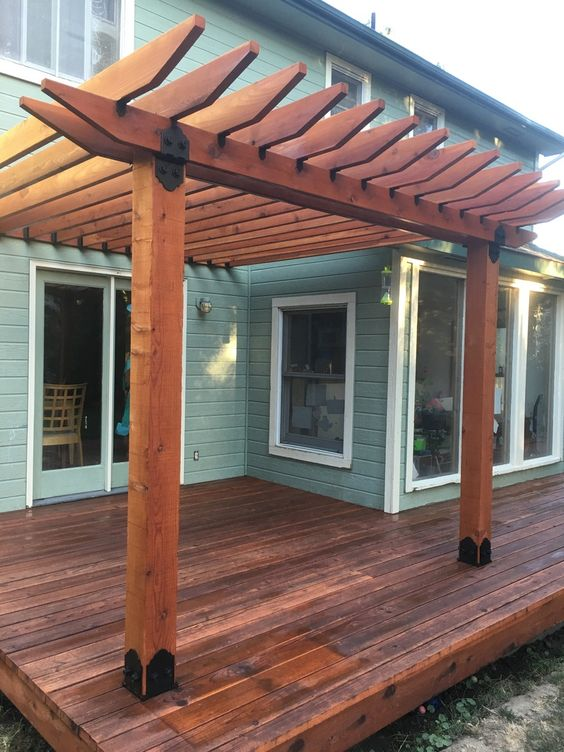
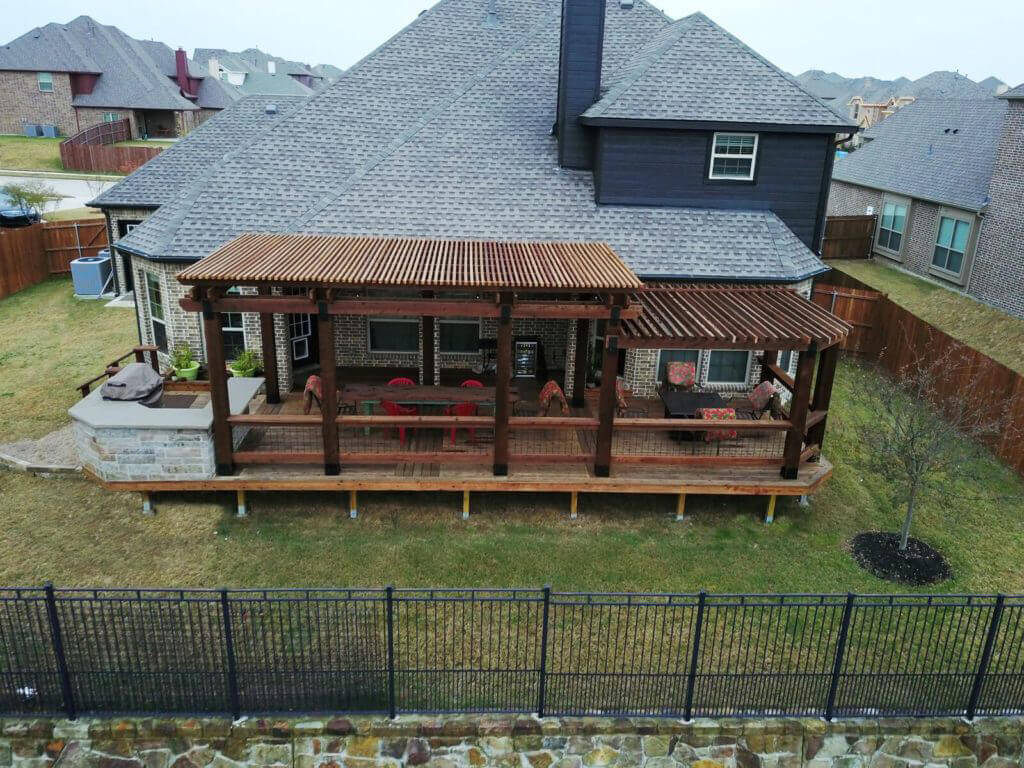
If you follow these guidelines you’ll have a pergola that not only meets code, but also looks great and can support a roof at a later time, if you decide to add one. These guidelines also work with multi-level pergola designs. Another important part of building a pergola that looks good and stands up over time is using quality hardware and fasteners that give it more strength in the face of the elements. And since pergolas are usually appearance-based structures, they should look good as well as being sturdy. When I worked in Florida, the National Park Service used plain galvanized nails, connectors, and rafter clips, and these detracted from the appearance of the pergolas we built. For your own yard, you’ll want to look for something that can give your pergola a more finished look.
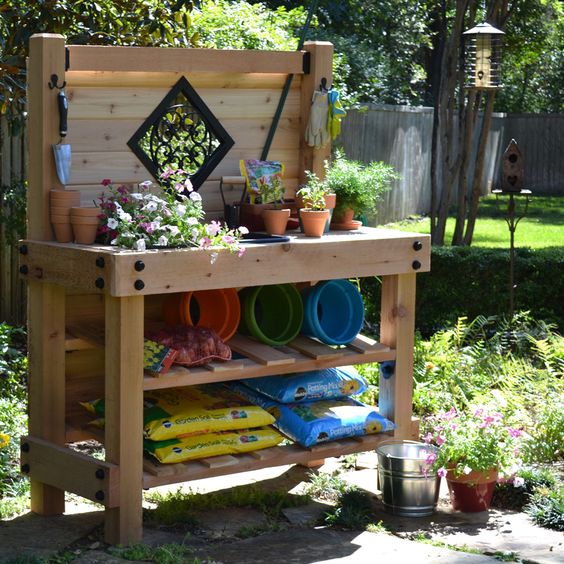
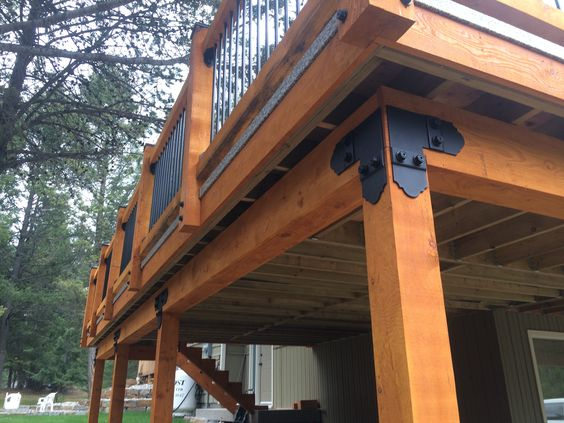
One example is the Laredo Sunset hardware from OZCO Building Products. It’s a line of solid steel hardware hot-dipped galvanized for corrosion protection and given a black layer of powder coat for a beautiful, rugged, straight-from-the-forge look that perfectly complements and lends heft to a pergola’s timbers. This hardware is designed to work and look good beside OZCO’s OWT timber screws and bolts for a complete, cohesive look.


Comments (2)
So the picture shows the post anchors into a wood deck surface. Do you need any other support for the posts or just the wood post anchors? We have an existing deck, just 12″ off the ground and want to add a pergola.
Thanks for your reply
The post base needs to be mounted securely to the joist framing of the deck. Typically blocking is installed between the joists under the areas where the posts will rest on the deck.