Screening in a Gazebo to Create a Peaceful Backyard Retreat
I have a good friend from college who always wanted a screened-in front porch, but didn’t quite have the kind of porch that would be easy to screen in. As an alternative, I suggested a stand-alone structure that she could put in her large backyard. I pointed out that a nice, old-fashioned screened-in gazebo would improve the value of her home while giving her the screened-in space she always wanted.
Screening in a gazebo, in my opinion, adds a lot to the structure. It offers some protection from bugs and wind, while letting the light in so you can enjoy the view. This is a project that doesn’t have to be expensive or complicated–particularly if you’ve already got the gazebo and now just need to add the screens. Here are some things to keep in mind as you’re planning your approach to screening in your gazebo.
Building Your Gazebo with Screening in Mind
While there are a wide range of gazebo styles, if you want to screen your gazebo in, you’ll want to take a few things into consideration that will make your gazebo easier to screen in after it’s been built:
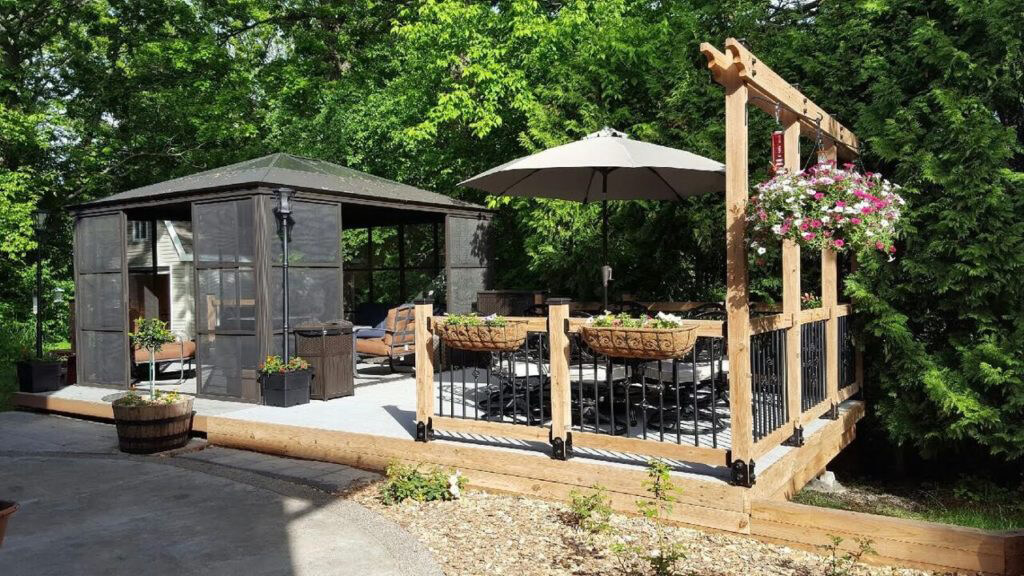
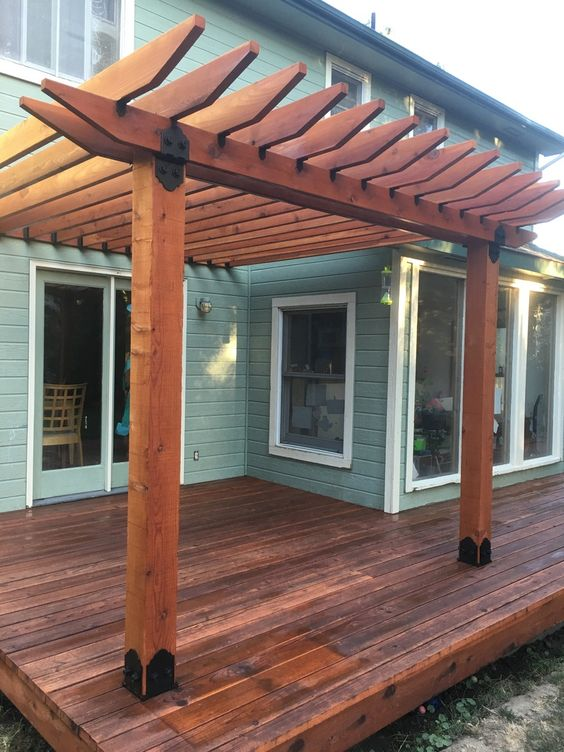
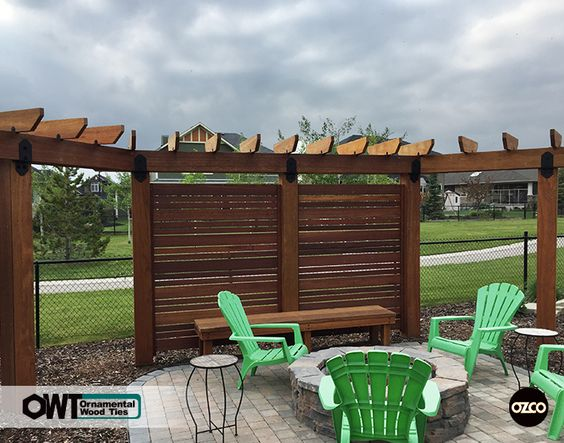
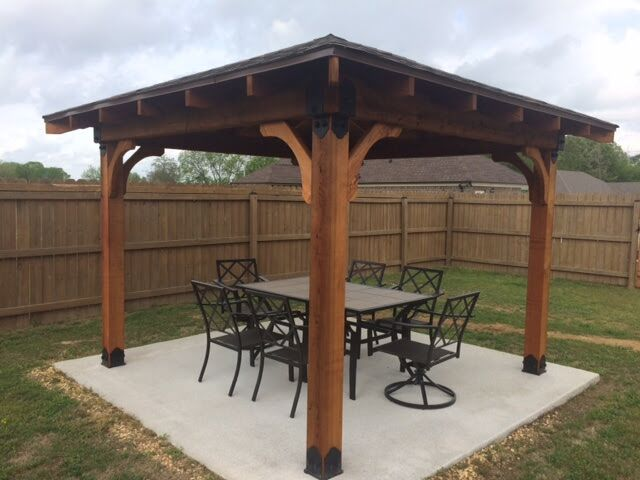
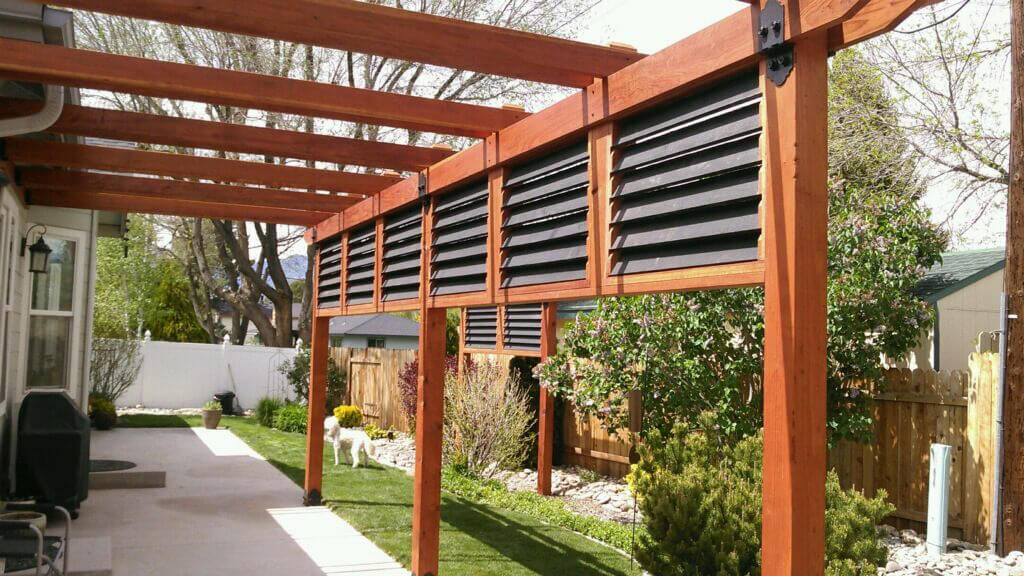
- Square is easier to screen than octagonal: Usually, you buy screens in panels. While octagonal–AKA eight-sided structures–are more traditional, a square gazebo, commonly called a pavilion, is easier to adapt for screens. This is because the vertical posts are where you’ll attach your screen panels. Pavilion designs, which have fewer vertical posts, don’t require as many panels.
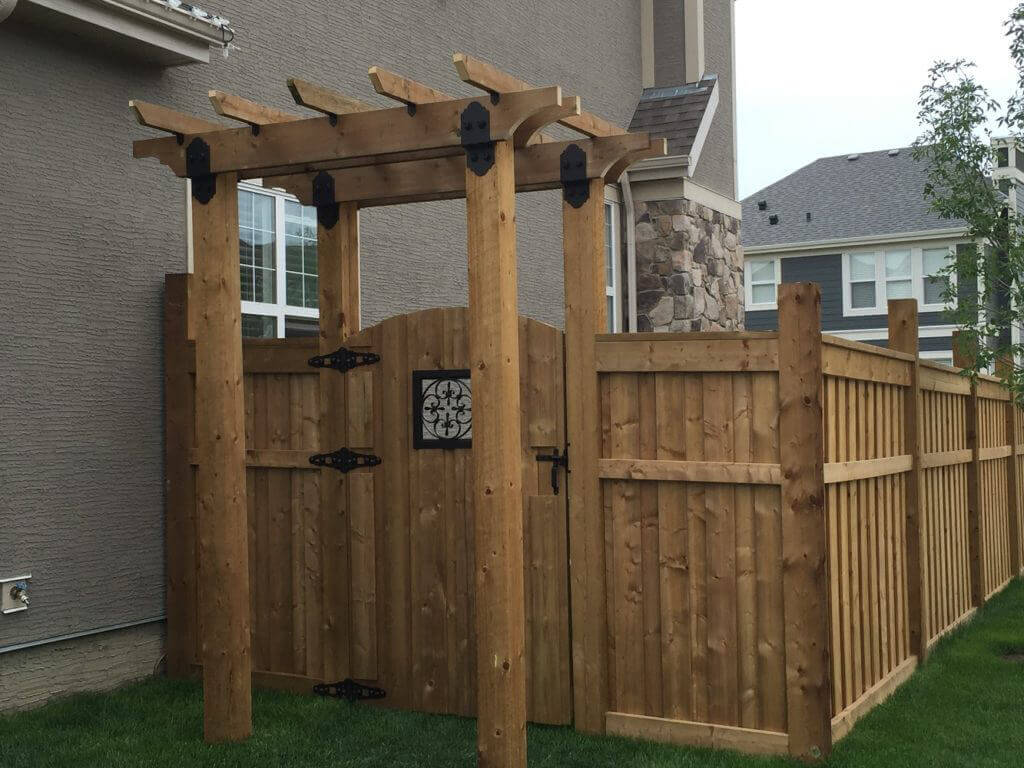
- Consider a closed panel lower wall: Most gazebos use railings and balusters as a low wall. However, those open railings complicate the process of adding a screen. For a gazebo that’s easy to screen in, you’ll want to pick a plan that uses closed bottom panels, or tight latticework between the top and bottom rails.
- Don’t forget the door: Most gazebos use an open entryway plan with no door, but without a door, you lose the protection from bugs and the elements that screens are supposed to provide in the first place. It’s fairly simple to build a door using leftover wood from the gazebo and the same type of screening you used for the rest of the structure.
Most gazebo plans can be easily adapted to include screens along with a screen door. The installation of the screen itself is a relatively simple process that you can complete as you’re building your gazebo. There are different ways to screen in your gazebo, but I’ll lay out the process that my friend used to add screening to her gazebo.
Screening in a Gazebo
Adding screens to a gazebo requires few additional materials outside of a screen kit and some durable hardware to hold the screen in place. While some opt to attach their screen panels to their gazebo via staples or a nail gun, I find that isn’t a sturdy enough option to keep your screen panel tight and eliminate gaps. Staples or small nails are fine for attaching the screen to the frame, but to affix the frame to the gazebo itself, screws are the best choice. Here are the basic steps for screening in an existing gazebo with a solid half wall:
- Step #1 – Lay out your materials to check for size. You want to lay out and measure your screening material in advance, leaving a little extra that you can cut off later. One to two inches of extra screen should do for measuring out your panels.
- Step #2 – Attach the screen to a wooden frame. Placing the screen within a frame makes it easy to mount the screen to the gazebo. You can either use small nails or staples to securely tack the screen to the frame. Some screening kits will come with these frames included, or you can make your own using materials left over from your gazebo project.
- Step #3 – Screw the screen panel to your posts. For this, I recommend using powerful timber screws which have been coated to resist corrosion. This will ensure that your screws stand up to the elements without coming loose due to rust. In addition, you’ll want to use screws that require no pre-drilling to ensure a tight connection. After you’ve attached the sides of the panel frame to the posts, screw the top and bottom edge of the frame in place with the same type of screws.
- Step #4 – Add the door. You generally want to add the door last as you don’t want to have to keep opening and closing it while you’re working on the gazebo. If you’ve purchased the door as part of a kit, it should come with the hardware you need. If you chose to build it yourself, you’re going to want to use a powder coated hinge and latch that have a thick coat of galvanization, to protect them from rusting. Some manufacturers make hardware like this that’s attractive as well as durable.
Screening a gazebo doesn’t have to be an expensive or exhausting process. In fact, it’s relatively easy to adapt most gazebo plans to include a screen. With the right screws and hardware, you can add a screen that will hold strong even in the worst weather.
When my friend wanted to create a screened gazebo, I recommended one of OZCO’s custom plans, which gave her a great jumping off point for building a simple square gazebo. She also opted to use their decorative hardware, screws, and gazebo truss brackets, as OZCO products turned out to have the perfect combination of durability and beauty. If you’re considering screening in a gazebo, OZCO hardware can offer the perfect finishing touch.

Leave a Reply