Backyard Grape Arbors for the Home Winemaker or Gardener
Back in my early twenties, I bought a younger friend of mine a home brewing kit for his twenty-first birthday, little knowing what I was unleashing. The beer from that first batch was terrible. The next twenty batches were bad, but uniquely bad each time. The twenty-first batch was acceptable as a near substitute for beer, but by then my friend was in college and had moved on to spirits and took up distilling. I hadn’t realized before this that Listerine could be made at home. As middle age beckons, our tastes have matured, and my friend now ruins parties with batches of his homemade wine. It works surprisingly well as salad dressing, but it’s a struggle to keep smiling through a glass of it.
At our last get-together, though, my friend surprised us. The bottle he presented us with was going to be the last of his special vintage; buying grapes from a vineyard was getting just too expensive. In a moment of misplaced sympathy, I suggested building backyard grape arbors to grow his own. Volunteering the idea, of course, meant that I’d volunteered to help build the arbors and grow the grapes—or at least that was what they decided it meant when my friends discussed it among themselves.
Why Build Your Own Grape Arbor?
The reason my friend gave up on buying grapes from the vineyard is that it takes a surprising amount of grapes to create a gallon of wine—somewhere around 15 to 20 pounds. Most winemaking kits, including my friend’s, are set up to make wine in five-gallon batches. That means it requires about 100 pounds of grapes to feed one of these winemaking kits The cost for about 50 pounds of vineyard-quality grapes is around $125 to $150, or $250 to $300 every time my friend wants to make a batch of wine. Growing his own grapes—or at least some of them—will save him a substantial amount of money. He’ll just need to determine what size arbor will work best.
Your average grapevine can produce wildly varying amounts of grapes each year, depending on the weather. A reasonable expectation is about seven pounds of grapes per year, so my friend will either have to sharply curtail production (my friends and I would not be upset if this were the case) or build an arbor—or multiple arbors—to accommodate around 30 grapevines. Each vine will need about 50 square feet of space to grow, which works out to a square about seven and a half feet on each side. Spacing also depends on what grapes you’re growing—more vigorous varieties can be placed closer together.
Different Types of Backyard Grape Arbors
Producing grapes takes a lot of energy, and this means it’s important the vine gets plenty of sunlight. Grape arbors allow the grower to position the growths off the vine so they can get the most light, with the least-promising branches being pruned off to enhance fruit growth on what remains. There are a couple of different types of arbors that are commonly used for grapes. Keep in mind that these trellis types will also work for any other kind of vining plant that loves sun.

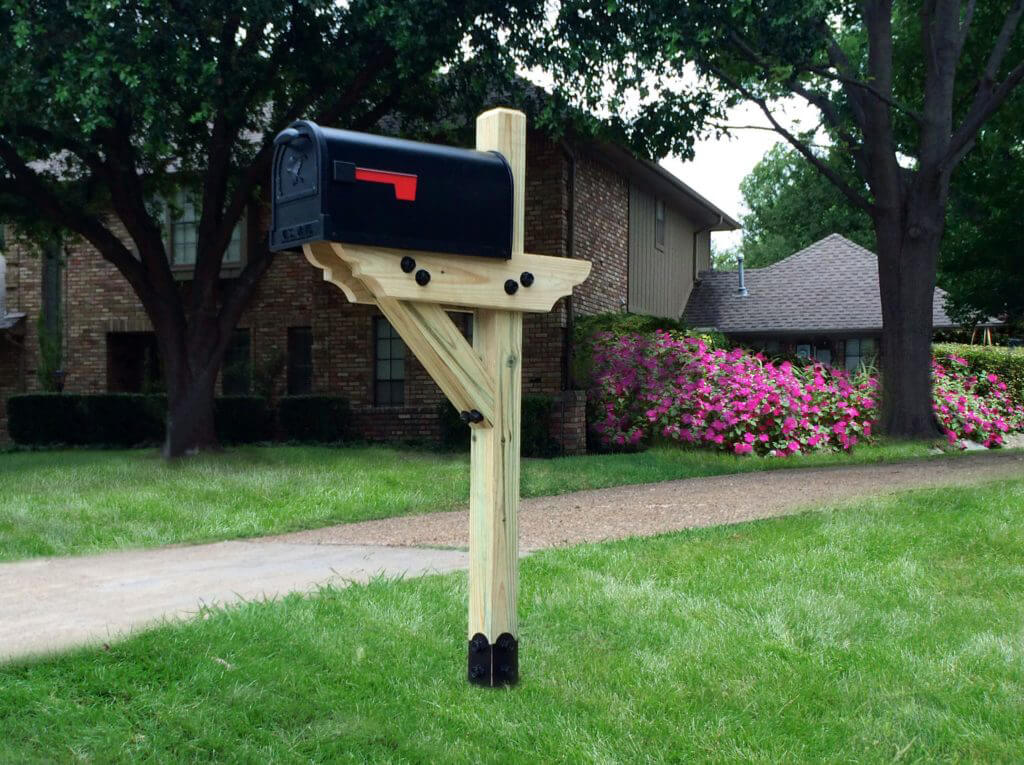
Fence trellises are simply posts driven into the ground with wires stretched between them. As the vines grow, they’re pruned to focus the plant’s energy into the strongest-looking branches, which are then positioned and tied to the wires to maximize sunlight. This simple trellising method is common in commercial production because it’s friendly to mechanical harvesting.

Quadrilateral trellises are quite a bit more complicated and their form varies. These trellises allow a grapevine to grow in three dimensions. They range in form from four posts in a square with wire strung between the posts to a central post with wires strung between branching arms. This type of trellis allows more branches to be tied up for higher fruit production.

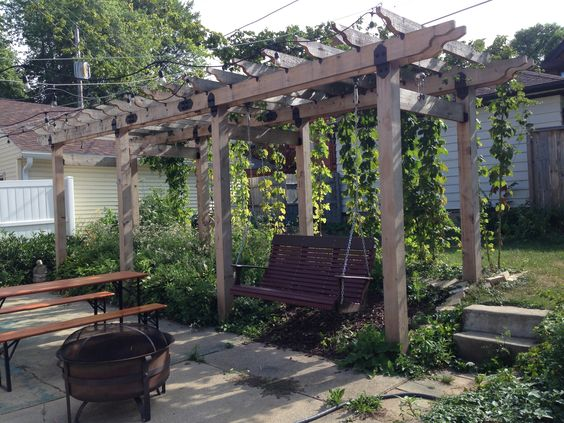
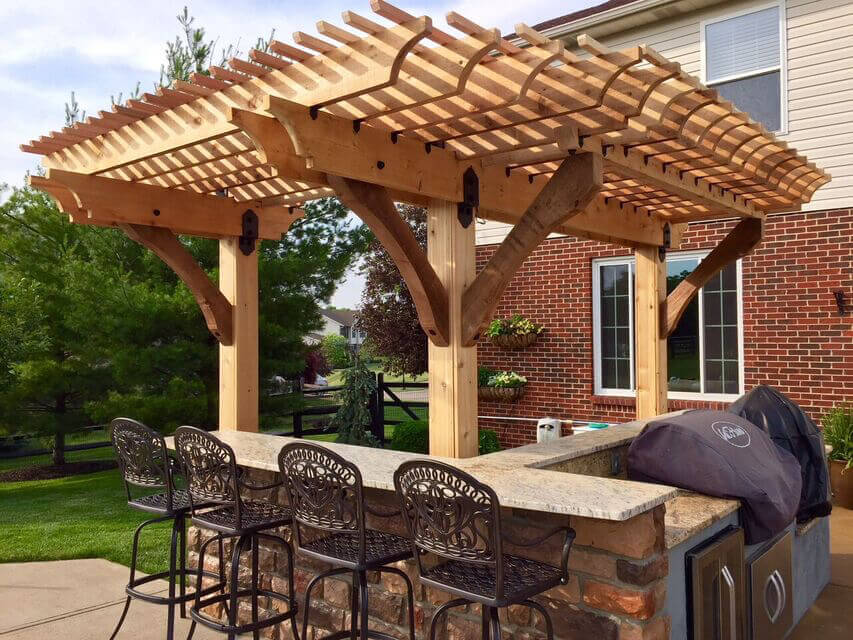
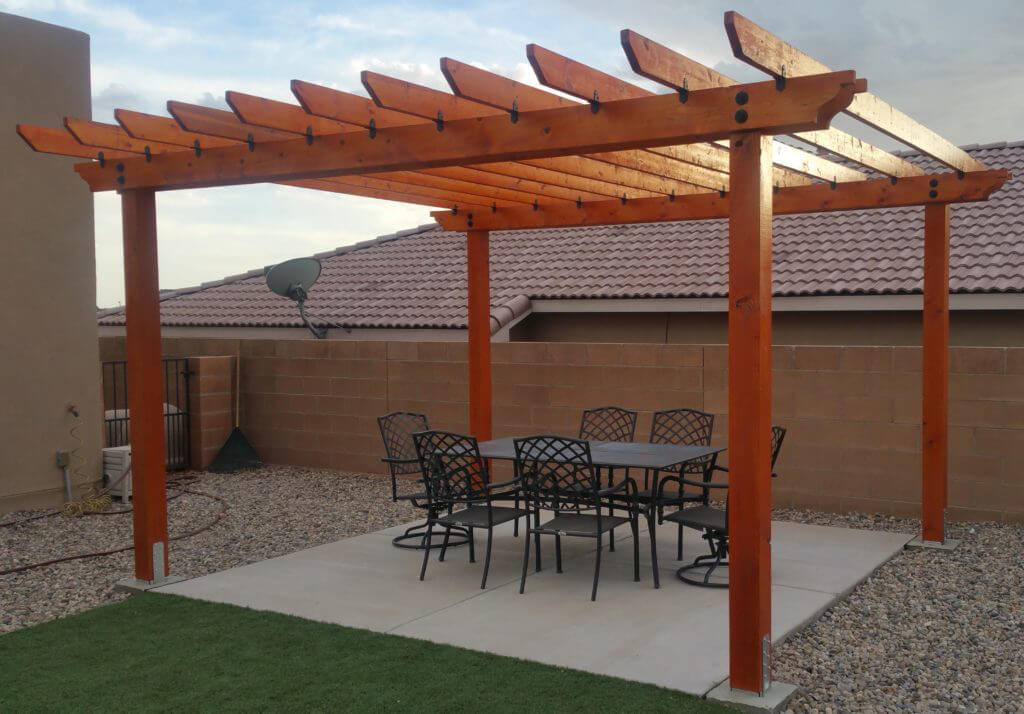
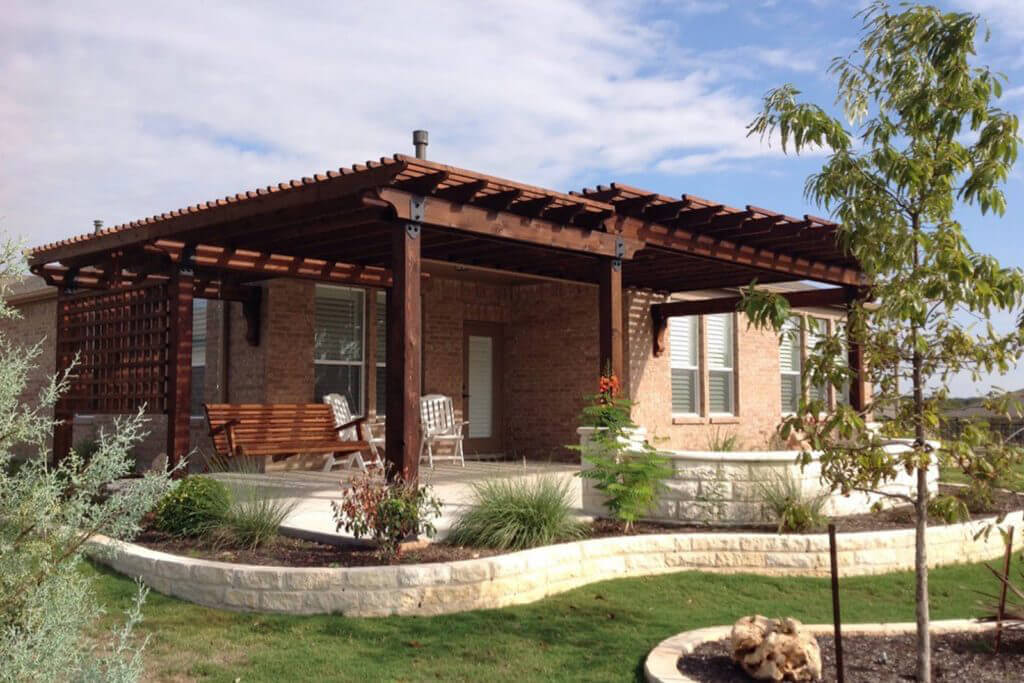
Arbor trellises are built to allow the grapevines to grow overhead. These are not typically used in commercial vineyards since they’re unfriendly to mechanical harvesting. However, they have useful features for the home vintner. They can be purely functional and made of wire, but they can also take the form of wooden garden arbors or pergolas, which are attractive and provide shade. Both arbors and pergolas also come in many shapes, sizes, and design options, including half-circle pergolas and multi-level pergolas.
The choice among types of trellises mostly comes down to the needs of the owner. My friend chose to build an arbor trellis as he is ultimately a family man and has realized that his backyard will be used for more things than just growing grapes. An arbor trellis is practical for growing grapes but is also an attractive outdoor feature that provides shade, which is something that will help him get the approval of his long-suffering wife. As my friend lives in a fairly rural area, this type of trellis design will also help keep the vines out of reach of browsing deer.
Building Your Grape Arbor
Once the type of arbor was chosen, the work of designing it fell to me. Since grapevines need 50 square feet to grow I rounded that up to an eight foot spacing between posts, planning for a typical four-by-four post to support the main trunk of the vine. The real challenge was to come up with a post arrangement that would accommodate 30 vines while leaving some of the yard free for other uses.
- I settled on a grid ten posts long and three posts wide, with each post spaced eight feet off of center. The overall footprint of the posts, however, is 16 feet 3½ inches by 72 feet 3½ inches, which poses a problem because the longest length of dimensional lumber I can get from the hardware store is 16 feet.
- The solution is to alter the typical pergola or arbor method of construction and run the beams in the shorter direction, placing them every fourth post, and splicing them together on the center post.
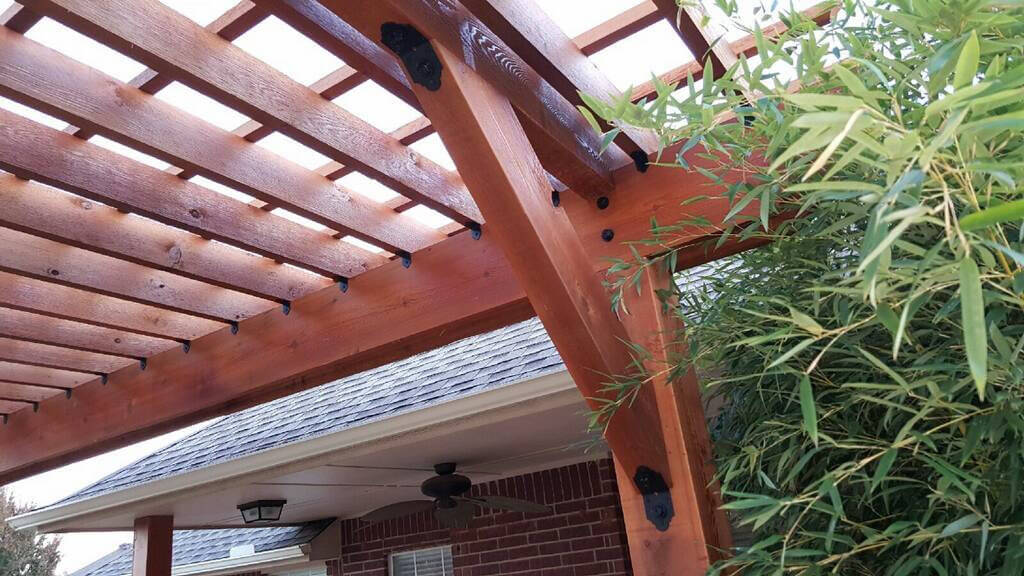
- Instead of the rafters going on top of the beams, they’ll join directly to the beams on the same level and be held in place by saddle brackets.
- To determine the rafter spacing, I took the total overall width of the short side: it’s 267 ½ inches. Since this is an odd number, I know that I will need an odd number of rafters, with 19 giving me the closest to an even number at 14.07 or 14 5/64 inches of space between each rafter.
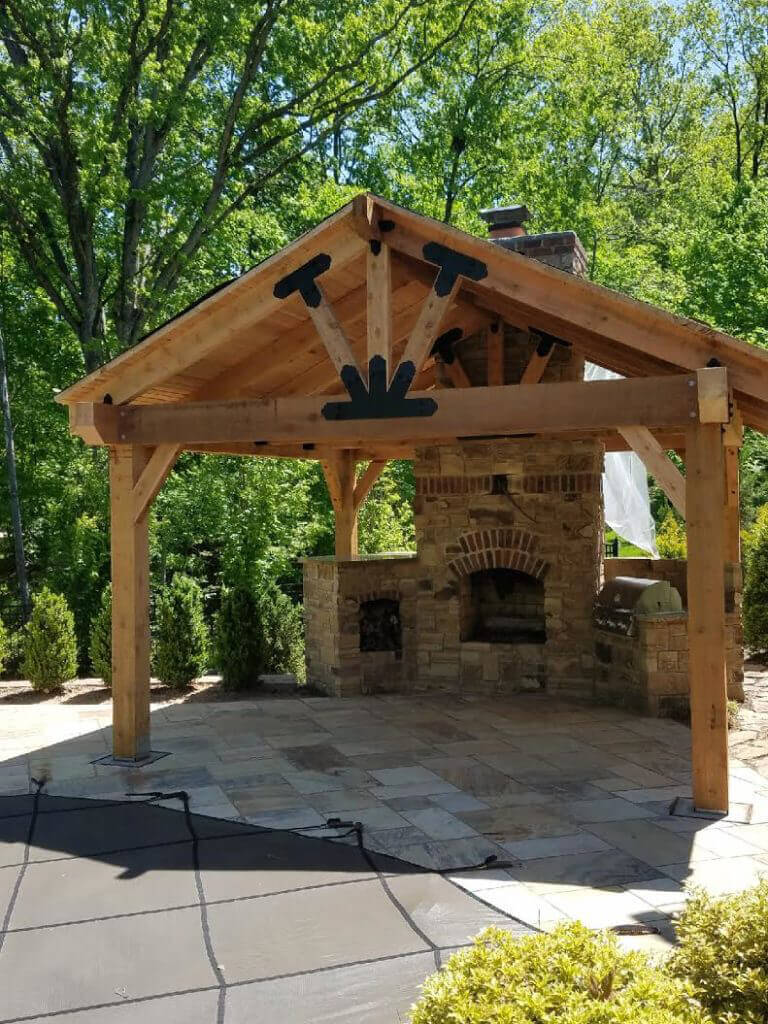
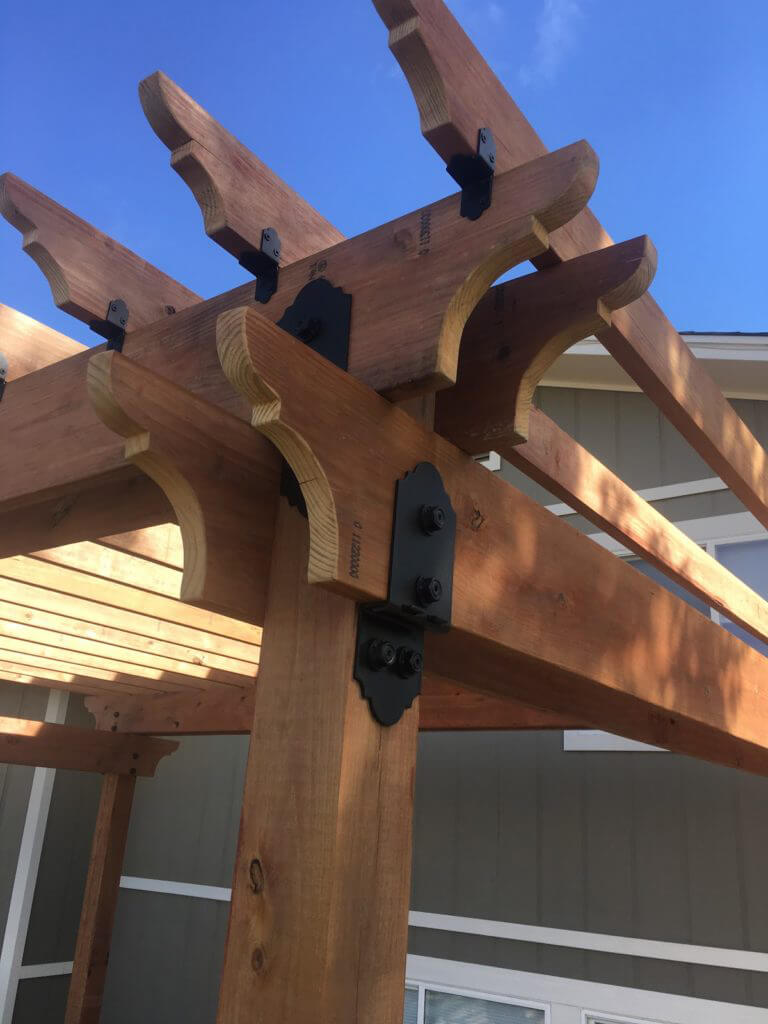
This design places the rafters close enough together to support a roof, something that won’t be used in the build but is required in most municipalities for permitting. One problem that did arise was that my friend’s wife didn’t like the look of the plain galvanized steel saddle brackets that would be used to hold the rafters. I did have to admit that the stainless would look strangely industrial shining through a leafy canopy of green. Obviously, a better-looking set of timber connectors would be required for the rafter-to-beam connections, and to cover up the splices in the beams themselves.
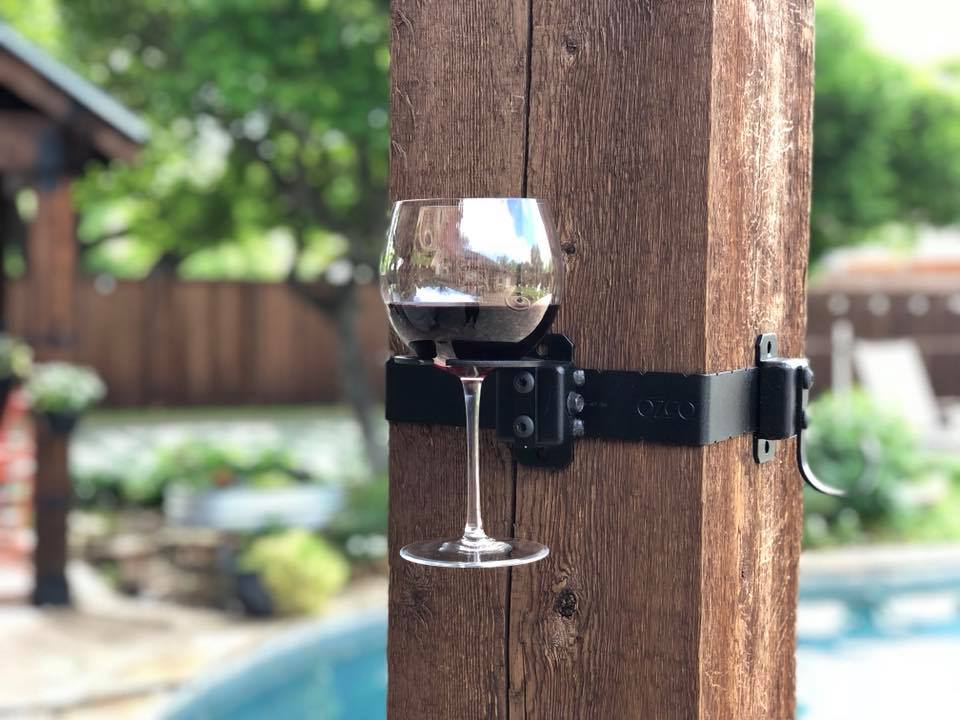
We found a solution in OZCO Building Products hardware. This hardware is hot-dipped galvanized for corrosion resistance like most outdoor hardware, but OZCO went a step further, giving the hardware a black powder coating that increases its longevity and gives it the look of forged iron straight from the smithy. OZCO manufactures joist hangers to make the rafter-to-beam connection as well as flush seam connectors and truss ties that not only cover up the connections in the beams, but provide additional strength to the joint. Any home vintner or gardener looking to build a grape arbor would do well to look into OZCO’s hard-wearing and beautiful hardware.
Image sources: Flickr CC users Marlon E, Riversdale Estate, andrew leahey

Leave a Reply