
How to Build a Raised Wooden Planter Box: Easy DIY Flower Bed Ideas
Delving into a new DIY project can be exciting, but if you lack experience, you may be left wondering just where to begin. The key to a smooth and successful backyard DIY project is understanding what materials you’ll need to gather before you can tackle the project. It also helps to explore all your options: There are few things worse than finishing a project only to see a photo on Pinterest that leaves you saying, “I wish I’d thought of that!”
If your deck is looking a bit stark and “under-dressed” this summer, these easy DIY flower bed ideas can add pops of color and character to your outdoor living space, enhancing the aesthetics of your backyard retreat. Placing a planter box directly onto your wooden decking, though, can discolor it due to uneven sun exposure or, even worse, water can get trapped between the box and the surface of the deck, resulting in mold, rotting, and degradation. Explore how to build a raised, wooden planter box to add the bright, natural beauty of colorful flower beds, without risking any damage to your deck.
Easy Designs to Build a Raised, Reclaimed Wood Planter Box
Reclaimed wood is widely favored today for its distressed, vintage look. Wooden pallets, ever-popular for outdoor projects these days, are easy to come by. Not only that, but they’re easy to use as well: Pallets come in standardized sizes, eliminating much of the guesswork when it comes to cutting wood to size for your flower boxes. You can also “upcycle” old furniture items, like a table or unused fence boards, repurposing the wood for your raised planter box.
The internet is a fantastic source for a wide variety of plans on how to build a wooden raised planter box, from stand-alone styles to larger structures, like a bench with built-in planters on either end. DIYers adept at woodworking may even be able to sketch out their own plans. Consider these easy DIY flower bed ideas for inspiration:
- A simple, modern design: Two-by-fours are sturdy options for the legs of a DIY planter box. They can serve as the four corners of the planter box, connected by four panels reclaimed wood to create the sidewalls, and a fifth panel to create a base. Use screws or nails to affix the panels to the sides of the four legs to create a raised box. You will need to make cut-outs in the four corners of the bottom panel so the legs can pass through the floor of the box.
- Upcycled inspiration: Use an old table, TV stand, or side table as the base of your raised planter. Then, simply build a wooden box that fits the dimensions of your pre-existing stand.
- Mix and match materials: If you have an existing resin planter or metal tub, focus your DIY skills on building a customized wooden stand. Metal and wood combinations are all the rage in home design these days!
Whatever approach you choose, you’ll need to ensure that the design is sturdy enough to support your plants and the soil. Remember, soil is much heavier when moist!
Considerations When Building a Raised Planter
While your imagination is really the only limit when it comes to DIY projects, there are a few things to consider if you are crafting your own plans:
- Weight: The weight of your planter is a primary consideration, especially when you add water to the equation, so that your new planter doesn’t collapse. A cubic foot of soil weighs between 76 to 110 pounds, depending upon the exact soil type and the moisture content. It’s always recommended to use a cross-bracing on the floor of the planter to account for the weight. Also, be sure to place your planter in its final position before you add soil so you don’t have to move it once it is weighed down with dirt.
- Drainage: Water drainage is key to healthy plants, lest you end up with root rot. Even if you keep plants potted individually within the planter box, the box itself could still collect rain water if it’s situated outdoors, which may eventually rot the wood. Don’t forget to drill a few holes in the bottom of the planter to allow for standing water to drain out. You can also extend the life of your planter by placing a plastic planter inside to serve as a “liner,” as this prevents the water and soil from coming in direct contact with the surface, as long as this also has drainage holes.
- The Elements: Outdoor planters require materials and finishes that will hold up when exposed to the sun, rain, snow, and other natural elements. A high-quality wood stain and sealer can protect wood, making it water-repellent and resistant to fading, discoloration, weathering and even mold, mildew, and fungus. You may also want to select corrosion-resistant screws and bolts, like polymer-coated timber screws.
You’ll also want to consider the what kind of plants you’ll be growing. For example, if you’re growing edible flowers or vegetables, you should avoid pressure-treated lumber, as the chemicals can leach into the soil and, ultimately, your food.
Beautifully Easy DIY Flower Bed Ideas
Your imagination is truly your only limitation when it comes to decorating your planter. Some prefer a raw, rustic look, while others opt to spend a lot of time on finishing and decorating their flower beds. Here are some easy and creative DIY ideas for making your planter box truly one-of-a-kind!
- Wood burning: A wood burning tool can be used to create some very cool effects, from lettering and “drawings” to decorative swirls and lines. For those who don’t do well with free hand designs, you can use a pencil to sketch out an image before you begin burning. There are even printable designs online. Just print, then trace the design onto the wood using carbon paper. Wood burning tools can be purchased in craft stores or online for around $25.
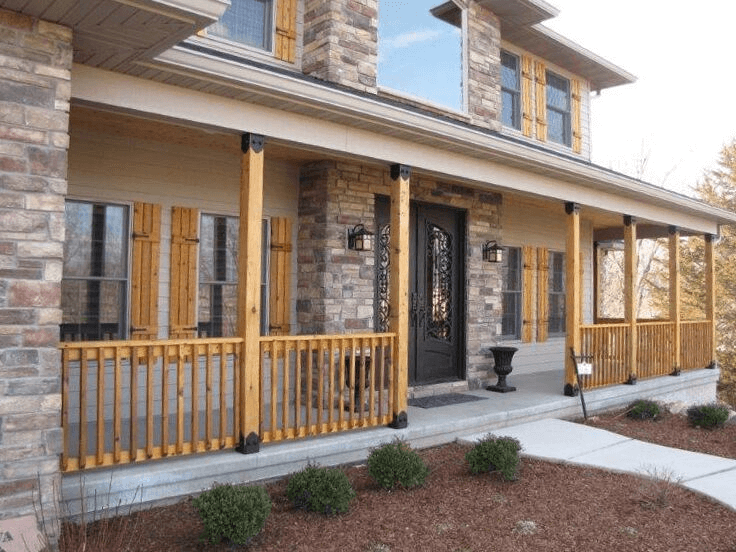
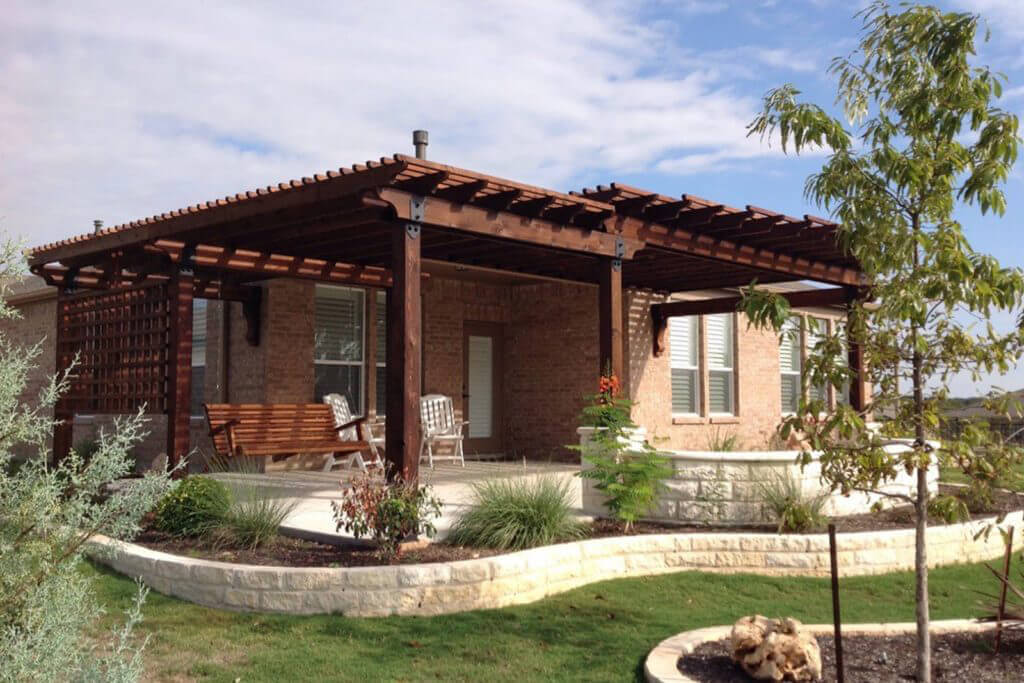
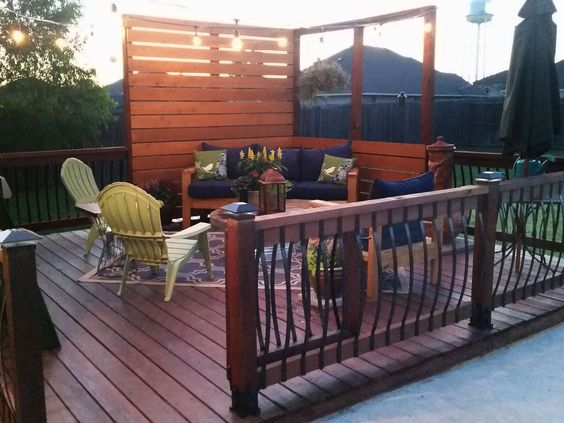
- Stains: Wood stain can give your planter a more finished look, while also protecting it from sun and water damage, especially if it will be exposed to the elements. You can also match the stain color to your deck, pergola, railing, fence, exterior trim, or other nearby wood structures.
- Wood trim, inserts, and appliques: Wood trim can be affixed to the planter using tiny finishing nails, which can be concealed with a dab of wood putty. Home improvement stores usually have a good selection of wood trim styles and you’ll find more options if you extend your search to include crown or other moldings. You may even find machine-milled wooden appliques in a variety of shapes which can be affixed with wood glue and a couple of well-placed finishing nails.
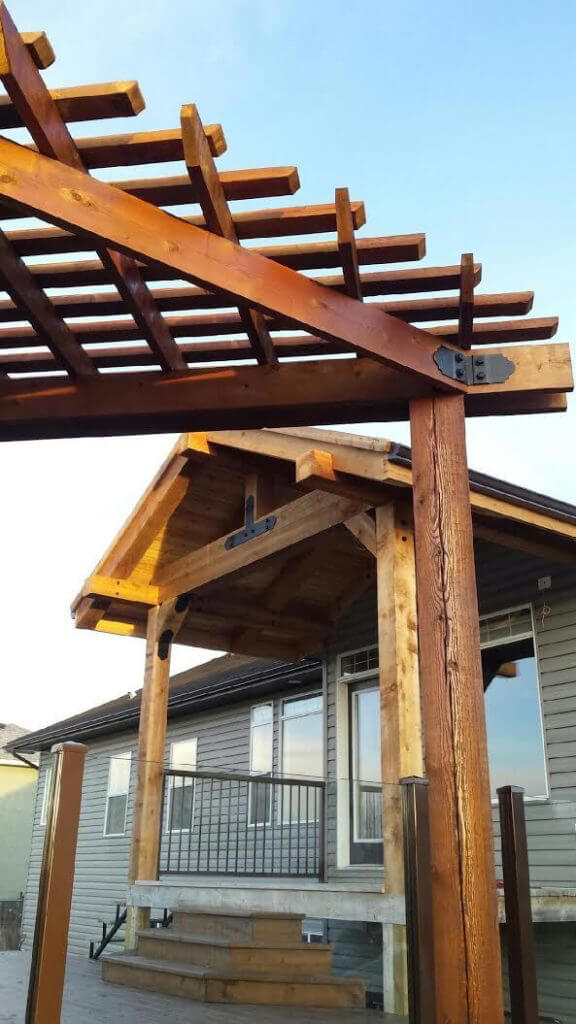
- Metal ornaments, brackets, and screws: Another option to add some unique flair to your planter box is to integrate metal ornaments, brackets, or screws that match your fencing or railing. A circular scroll accent made of powder-coated steel is one example of a great decorative element that could give your new planter a look that’s cohesive with your home and even nearby fencing. Ornamental wood ties are also an effective and aesthetically-pleasing way to anchor and affix the walls of your planter box to each other.
- Paint: Painting your flower bed can really transform the look of your planter, whether you choose to go for a fresh, clean look or a distressed, artificially-aged appearance. Painting can be used in combination with wood burning techniques, wood trim, or appliques. But use caution if you burn wood that has been coated with paint as it will emit an unpleasant odor.
This project can take just a few hours or maybe your whole weekend if you want to get really fancy with the decorative elements. Either way, a raised planter or flower bed can add a naturally homey touch to your deck, turning it into an outdoor haven this summer. It’s important to keep the style and look of nearby structures in mind, though. For example, if you have a uber modern fence or railing, a shabby chic planter with a distressed finish won’t fit in very well.
As a DIYer, I’ve found OZCO Building Products to be durable and high quality. From the wood stains and sealer to the brackets, screws, fasteners and other hardware—and even decorative items like metal scrolls—OZCO products bring your project to life.
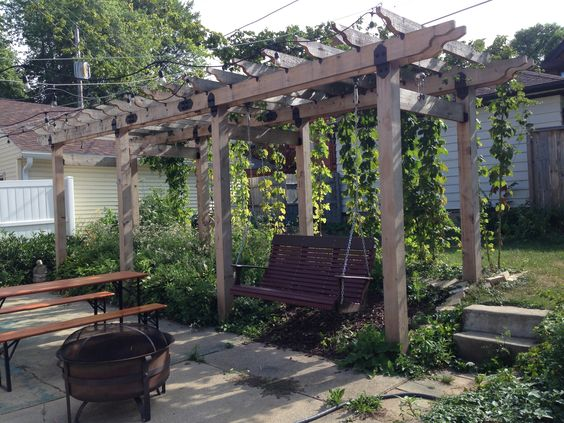
If you’re adept at do-it-yourself projects, you might also enjoy OZCO’s plans for a two-tier pergola. Contact them if you have any questions about OZCO products.


Leave a Reply